
Last updated November 17, 2026
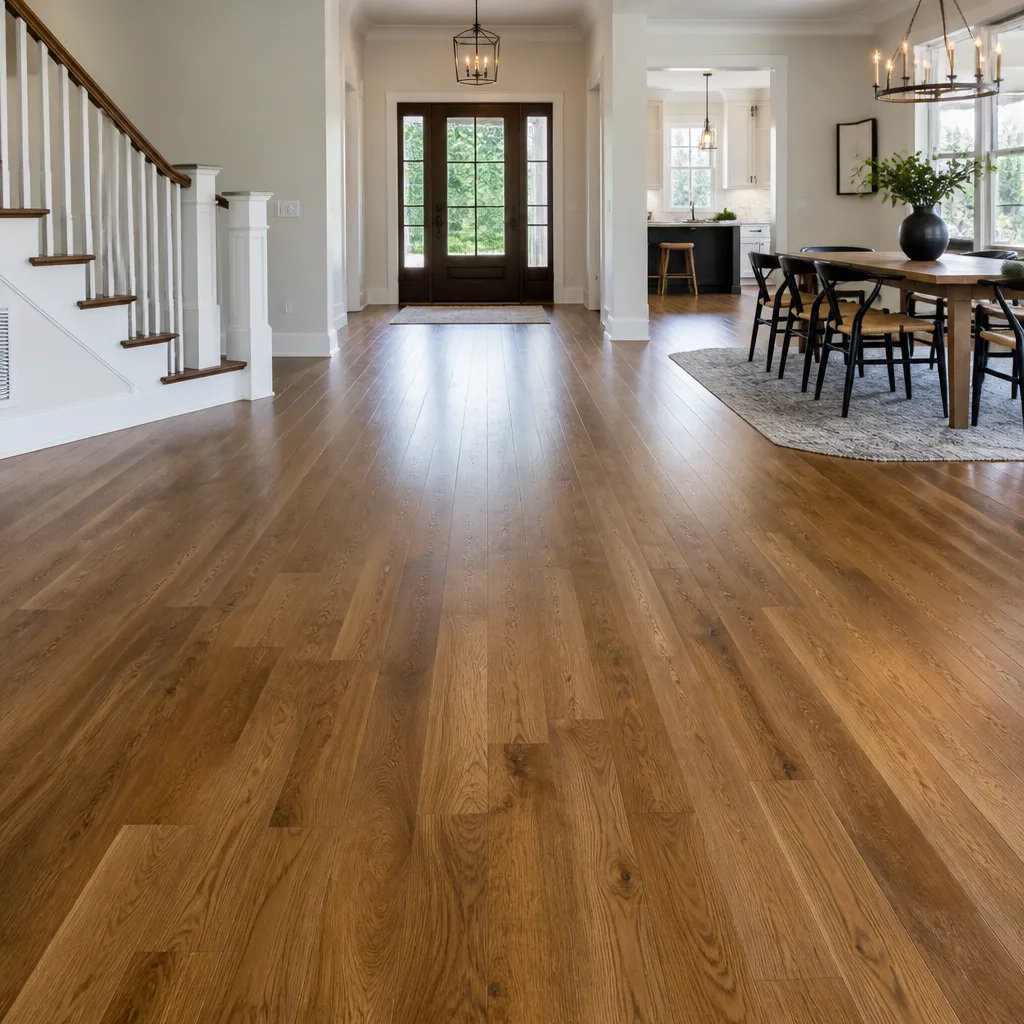 Hardwood
 Engineered hardwood
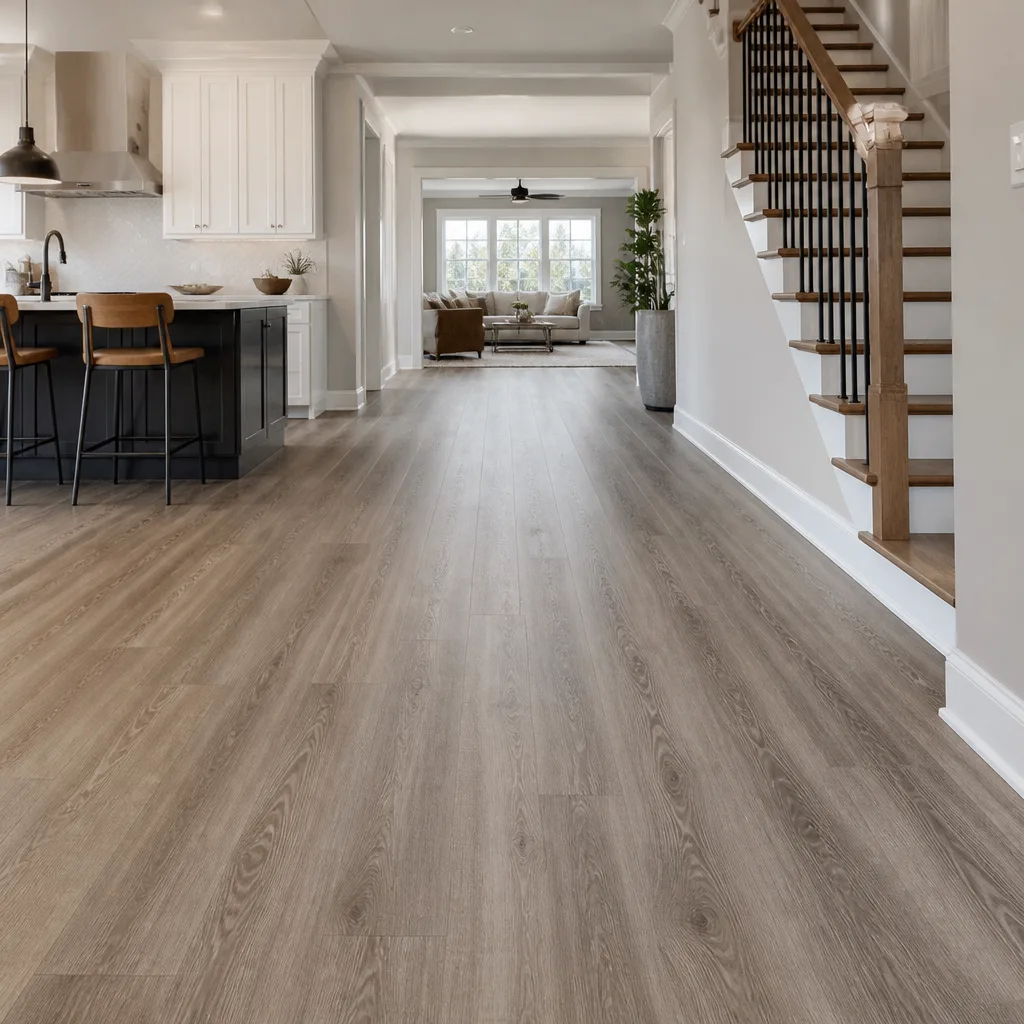 Luxury vinyl plank
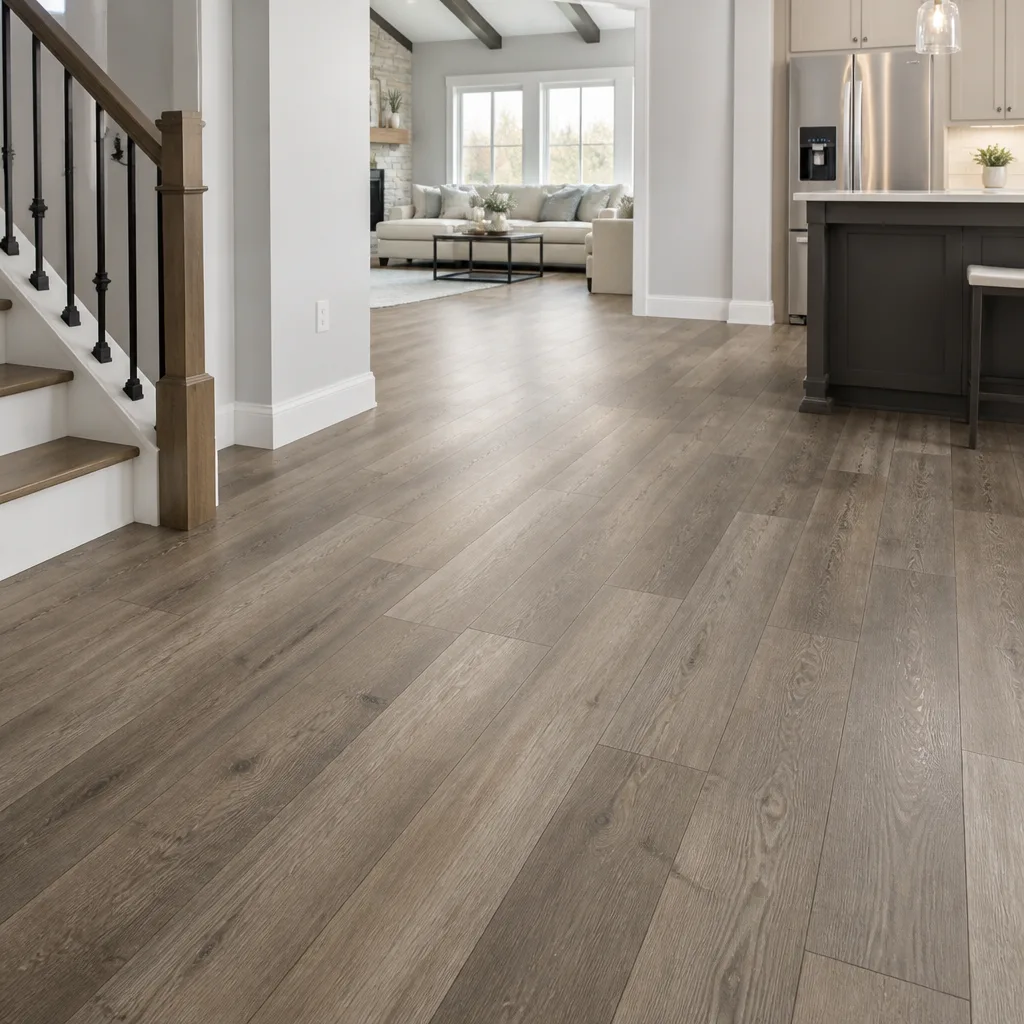 Laminate
 Porcelain tile
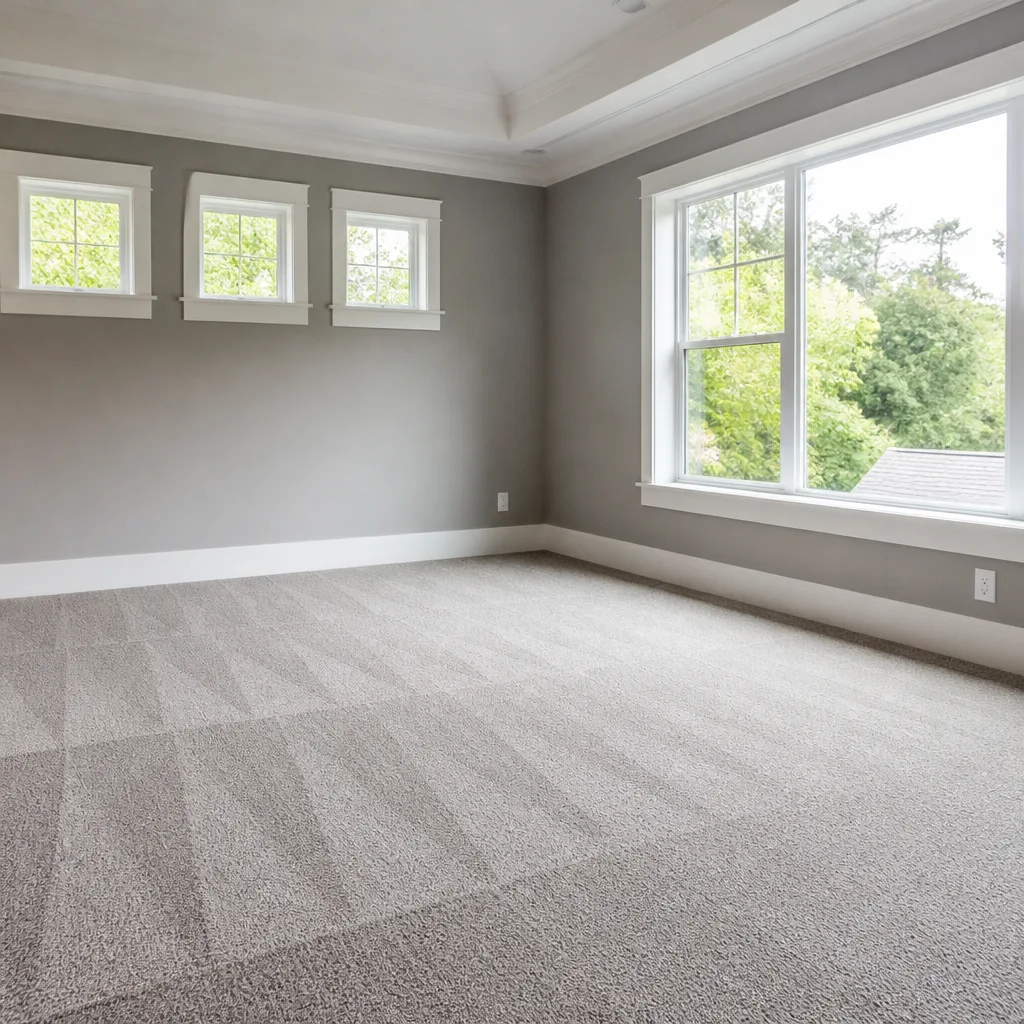 Carpet
 Shaw
 Mohawk
 COREtec
 Pergo
Free in-home measure and written estimate: Shaw, Mohawk, COREtec and Pergo lines compared on your own rooms, with carpet, tile, vinyl plank, laminate and hardwood laid out side by side
Get your free estimateHow to Prepare Your Home for a Flooring Installation in Henderson
Most homeowners think prep means clearing the room and maybe vacuuming. That’s the easy part. The preparation that actually decides whether your floor performs for years happens in the conditions around the product: the temperature the house sits at, the moisture in the air and slab, whether the flooring has had time to settle into your rooms, and whether the subfloor is flat and clean enough for the material going down. Miss those and the best tile or Karndean plank in the world can still cup, gap, or loosen. This guide walks through what genuinely matters before a crew arrives in Henderson, from the acclimation window to baseboard strategy to the prep that’s on you versus the prep that’s on us.
Quick Answer
To prepare a Henderson home for flooring installation, clear the room completely, keep the HVAC running at a normal living temperature for several days before and after the install, let the flooring acclimate on-site for the period the product instructions call for, remove or plan around baseboards and door casings, and address any visible subfloor cracks, high spots, or old adhesive before the crew arrives. The single biggest mistake is treating prep as tidying. It’s really about creating the temperature, moisture, and surface conditions the product needs to sit correctly.
Styles & brands we work with
- Hardwood
- Engineered hardwood
- Luxury vinyl plank
- Laminate
- Porcelain tile
- Carpet
- Shaw
- Mohawk
- COREtec
- Pergo
Table of Contents
- Why Prep Decides How Your Floor Performs
- The Acclimation Window in Henderson’s Climate
- HVAC and Humidity: What Your House Needs Before, During, and After
- Furniture, Appliances, and Door Clearance: Who Handles What
- Baseboards and Door Casings: Remove or Undercut?
- Subfloor Inspection: What You Can Check Before the Crew Arrives
- Prep Differences by Floor Type: Carpet, Tile, and Hardwood
- The Day-Of Checklist
Why Prep Decides How Your Floor Performs
Flooring is one of the few home upgrades where the visible result is almost entirely a function of what’s underneath and around it. A tile that looks perfectly set can crack within a season if the slab under it wasn’t flat. An LVP plank that feels solid at first can develop gaps at the seams if the room’s humidity swings too far during and after the install. These aren’t installation failures in the narrow sense. They’re prep failures.
In Henderson specifically, the desert climate adds a wrinkle most generic prep guides skip. Our indoor humidity in summer, with the AC running hard, is often far lower than the outdoor air. In winter, heating pushes it lower still. Wood and wood-composite products move with that swing. Rigid-core LVP lines like COREtec and Karndean are more dimensionally stable than traditional hardwood, but they still have a manufacturer acclimation window that exists for a reason. Skip it and the product goes down at one size and settles at another.
The point isn’t to scare you into over-preparing. It’s that a couple of days of getting the house into the right condition costs nothing and protects the floor you’ve already spent money on. The prep tasks below are ordered roughly the way we’d walk a homeowner through them, from climate to surface to logistics. If you’re still deciding what product to put down, the place to start is the Henderson Flooring Installation overview, which lays out the three flooring categories we work in.
The Acclimation Window in Henderson’s Climate
Acclimation means letting the flooring sit in the room where it will be installed, at normal living conditions, for a set period before installation. The reason is simple physics: flooring absorbs or releases moisture until it reaches equilibrium with its surroundings. Install it before that equilibrium is reached and it will keep moving afterward, which shows up as gapping, cupping, or peaking seams.
How long the window is depends on the product, not on us. The manufacturer’s installation instructions for your specific product set it, and those instructions always win. What we can tell you is that the windows differ meaningfully by category:
- Engineered hardwood: Typically needs the longest on-site window because it has a real wood wear layer that responds to humidity. In Henderson’s dry indoor air, that means the house needs to be at its normal occupied conditions, not a construction-site 85°F with the AC off.
- Rigid-core LVP and LVT (COREtec, LifeProof, Karndean): Shorter windows than wood, but not zero. These products are more stable, and the manufacturer’s spec still governs.
- Laminate (Pergo, Shaw lines): Also climate-sensitive, with its own window and its own subfloor requirements.
- Tile and stone (Daltile): Tile doesn’t acclimate the way wood-based products do, but the setting materials do have temperature limits, and the room needs to be in that range.
- Carpet: Usually doesn’t need an on-site window, but the room still needs normal temperature and humidity at install time.
When you skip acclimation in a Henderson home, what typically goes wrong is seasonal. The floor gets installed in a dry summer house, then the first cool-weather humidity shift pulls it apart at the seams. Or it goes down in a heated winter house and swells slightly when summer humidity returns. Getting the house to normal living conditions ahead of time is the whole point.
If you’re installing in more than one room at once, the acclimation window stacks in your favor: the materials for both rooms can sit together. We handle multi-category installs as a single job, which is why a home that needs carpet installation in the bedrooms and tile in the baths doesn’t need two different contractors.
HVAC and Humidity: What Your House Needs Before, During, and After
The most common prep failure we walk into isn’t furniture left in place. It’s a house with no working AC in the middle of summer, or a winter install with the heat off and the windows open. Flooring products have installation temperature ranges, and a house outside that range is a house where the install shouldn’t start.
In practical terms, here’s what your home needs:
- Before the crew arrives: The HVAC should be functional and running at a normal occupied setting for several days before installation, so the house is at its steady-state conditions when the material comes in. Not a cold house that gets warmed up that morning.
- During installation: The HVAC should stay on at that normal setting. Doors will be opening and closing, so windows and doors should remain closed as much as possible, and no fans blasting desert air through the house.
- After installation: The house should stay at normal occupied conditions for the settling period the product instructions call for. Don’t turn the system off and leave town the day the crew finishes.
Summer in Henderson is the season this matters most. A house with the AC off in July can hit temperatures well outside any product’s installation spec. That’s not a case where the crew should push through anyway. The right call is often to reschedule, and it’s better to hear that ahead of time than after the material is half-installed. We answer 24/7 for scheduling questions, and fast dispatch from 7am to 7pm Sunday through Friday gets an estimate visit on the calendar.
Winter installs have their own version of this problem. Heat off, windows open for ventilation, and very low indoor humidity can dry out the house in a way that affects wood-based products. The fix is the same: keep the system running at normal occupied settings and treat that as part of the job, not an afterthought.
Furniture, Appliances, and Door Clearance: Who Handles What
Furniture prep is where homeowner expectations and crew scope most often diverge, so let’s be clear about the line. The crew handles the flooring work. It does not handle moving your belongings, disconnecting your appliances, or emptying closets as part of the install. Those are homeowner tasks, and leaving them undone is one of the fastest ways to compress a job’s timeline or push a start date.
Here’s how the responsibilities break down:
- Homeowner: Remove all furniture, area rugs, wall hangings that could be knocked loose, and closet contents from the work area.
- Homeowner: Arrange for disconnection and reconnection of appliances that need moving – washer, dryer, refrigerator, and any water or gas lines. Crews move the floor, not plumbing and gas.
- Homeowner: Remove or relocate pets for the duration of the install. Pets, open doors, and adhesive or thinset dust don’t mix.
- Crew: Remove the existing flooring and manage the debris removal that goes with it.
- Crew: Handle the door-clearance adjustments that go with a thicker new floor, typically by undercutting or trimming casings.
- Crew: Do the subfloor prep that the job requires once the old floor is up, including patching, leveling, and cleaning.
Door clearance deserves its own note. If you’re replacing a thin carpet-and-pad with tile, the new floor will be thicker, and swing doors can start dragging or won’t latch. The crew plans for that. If you’re going the other direction – tile out, carpet in – expect gaps under the door and plan for a threshold or trim solution. Mention it at the estimate visit so it’s priced in.
Baseboards and Door Casings: Remove or Undercut?
This is the prep decision with the longest-lasting consequences. Get it right and the floor looks built into the room. Get it wrong and you’re staring at inconsistent expansion gaps, shoe-molding that looks like an apology, or trim that needs to come off again later.
There are really two strategies worth understanding:
- Remove and reinstall baseboards. The flooring goes in underneath the trim, then the baseboard goes back on over it. The finish line is clean, and if you’re refinishing the walls or painting anyway, this is the moment to do it.
- Undercut the baseboard and casings. The trim stays on, and the installer cuts the bottom of each piece at the floor line so the new flooring slides underneath. Toe-kick spaces and door jambs get the same treatment. This is fast and common on hard-surface floors, and it works well if the trim is in good shape and you don’t want to disturb it.
What doesn’t work is installing new flooring tight against the baseboard and calling it done. Wood products and laminate need room to expand and contract. A tight install creates either a visible gap at the wall or a floor with no expansion room at all. Neither is what you’re paying for. Carpet is a different story: tackless strip and stretch technique handle the perimeter differently, and tile flooring installation works off the slab, so the trim call comes down to how you want the wall line finished.
If you’re not sure which strategy your room needs, that’s a good thing to raise at the estimate. The written estimate sets the scope, including whether baseboard removal is included. Guessing and then asking the crew to add trim work later is how a clean install turns into a patch job.
Subfloor Inspection: What You Can Check Before the Crew Arrives
You can’t fix the subfloor yourself, and you shouldn’t try. But you can identify the things that will matter, so the estimate and the install plan are accurate. Subfloor condition is the single most common source of “this job is bigger than we thought” surprises, and finding those issues early keeps the project on track.
Here’s what to look at, room by room:
- Visible cracks in a concrete slab. Some cracking is normal in a Henderson slab. The question is whether the crack has become a height difference across the two sides. If it has, flag it.
- High spots and low spots. Lay a long straightedge or a level on the floor and look for daylight underneath. More than a hairline is worth flagging.
- Old adhesive residue or glue lines. Previous flooring left behind a rough, uneven surface that has to be dealt with before new flooring goes down. Some adhesives need removal and some can be left alone with a skim coat, but that’s a call for the estimate visit.
- Drain locations in slab rooms. Floor drains in a laundry room or utility space need specific handling. If the room has one, mention it before the job starts.
- Moisture signs. Discoloration, unsealed areas, or a history of water damage all give the crew a reason to test the concrete slab before installing. Slab moisture matters in Henderson just like anywhere, and a quick on-site test settles it.
- Soft or squeaky areas. On wood subfloor (upstairs rooms, some pier-and-beam cases), soft spots can signal a floor joist or underlayment issue that needs to be addressed before the new floor goes down.
- Existing flooring type. If you’re stacking a new floor over an old one, the product and the install method have a say in whether that’s allowed. Don’t assume it’s fine.
We don’t expect homeowners to diagnose any of this. But the more rooms you can walk through with a level and a good flashlight, the more accurate the estimate. That’s the whole game: accurate estimate, accurate install plan, no surprises mid-job.
Prep Differences by Floor Type: Carpet, Tile, and Hardwood
Prep isn’t one-size-fits-all. The work your home needs depends on which of the three flooring categories you’re putting down, and in Henderson we see all three in the same house regularly. Here’s how the prep differs by category.
Carpet
Carpet prep is mostly about the base and the room. Old tackless strip, existing pad, and any debris need to come out first, and the subfloor needs to be clean and dry before new tackless goes down. Furniture and closet contents are the homeowner’s job, and the room needs normal temperature and humidity during install because the stretch happens to the room’s conditions. If you have pets, keep them out of the room entirely.
Tile
Tile prep is where the subfloor call matters most. The slab has to be clean, dry, and flat enough for the material, and any cracks, patching, or height differences get addressed before a single tile is set. Rooms with floor drains, older concrete, or patchy previous installs need a closer look. Daltile would look the same finished in a bedroom or a bath, but the prep work is very different depending on what’s underneath.
Hardwood and Hardwood Refinishing
For engineered hardwood, acclimation and humidity are the big prep items: the house needs to be at normal occupied conditions days ahead of the install, and the material needs to sit in the room for the window the product specifies. For refinishing an existing hardwood floor, prep shifts to making sure the floor is refinishable in the first place. That depends on the wear layer’s thickness and the condition of the wood, checked at the estimate visit. Not every floor can be sanded down again, and we’d rather tell you that at the estimate than discover it mid-job.
Refinishing is worth highlighting because not every installer offers it, and a homeowner with existing wood floors is often told to just replace the whole thing. We’d rather bring a floor back to its original finish when the wood supports it. If you have older hardwood and you’re deciding between refinishing and covering it, that’s a conversation to have early, before the room gets cleared.
The Day-Of Checklist
Here’s a short checklist to run through the evening before and the morning of the install. Get all of these done and you’re not the reason the job reschedules.
- Room completely empty – furniture, rugs, closet contents, wall hangings.
- Appliances disconnected and moved clear of the work area, including water and gas connections.
- HVAC running at normal occupied setting, and staying on all day.
- Windows and exterior doors closed to keep the room’s temperature and humidity steady.
- Pets relocated out of the room and away from the work area.
- Driveway or parking access clear enough for the crew to move materials and debris.
- Any baseboard, trim, or door-casing decisions confirmed with the crew at the start.
- Phone available and on – the crew may need to reach you during the day.
That’s it. The prep doesn’t need to be complicated. It just needs to be done before the crew pulls up, because once they’re on site the clock starts, and the best job is the one where nobody’s playing catch-up.
Common Mistakes to Avoid
- Leaving everything in the room and expecting the crew to move it. Furniture moving is a homeowner task, and every minute spent clearing a room is a minute the install isn’t happening. If you can’t handle it, arrange for help before the install date.
- Turning the AC off to save money on install day. Summer in Henderson is when this hurts most. A house outside the product’s installation temperature range is a house where the install shouldn’t start, and rescheduling costs more than a day of AC.
- Skipping the acclimation window because it’s a short floor. Rigid-core LVP like Karndean and COREtec is more stable than wood, but “more stable” isn’t “immune,” and the manufacturer’s window still governs. Skipping it is the easiest way to get gapping a year later.
- Letting the crew install tight against the baseboard. Assuming the trim can just stay and the floor slides up to it is what creates expansion gaps or buckling. Decide on removal versus undercutting at the estimate, not after.
- Assuming the subfloor is fine because the old floor looked OK. Some subfloor issues were hidden under the old floor and stay hidden until you pull it up. Flagging visible cracks, high spots, old adhesive, and drains at the estimate saves a mid-job change order.
- Turning the system off and leaving for the week after install. New floors need normal occupied conditions for the settling period the product instructions call for. If you’re leaving town, leave the HVAC running.
- Stacking new flooring over old without checking. Some installs allow it, some don’t, and the answer depends on the product and the old floor. Don’t assume the old floor can stay until the estimate visit says so.
See the difference
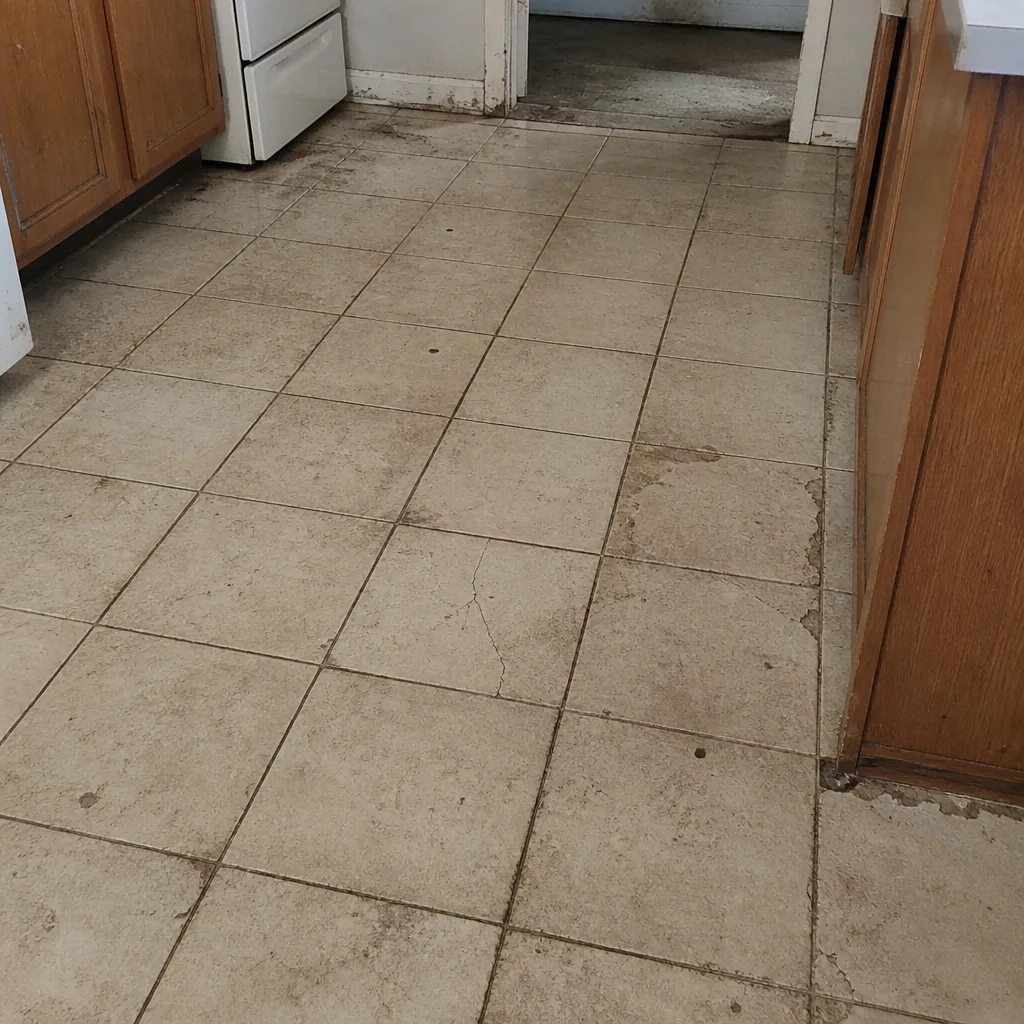 Before
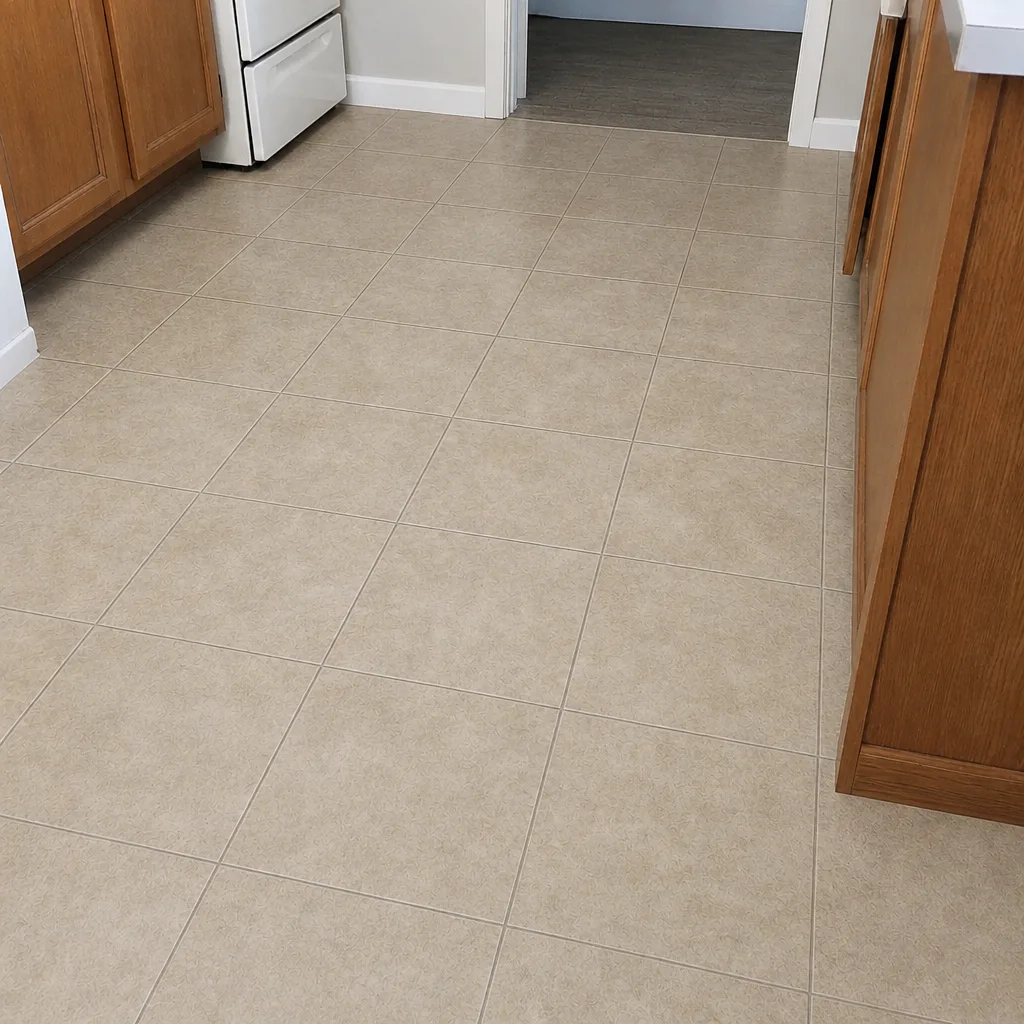 After
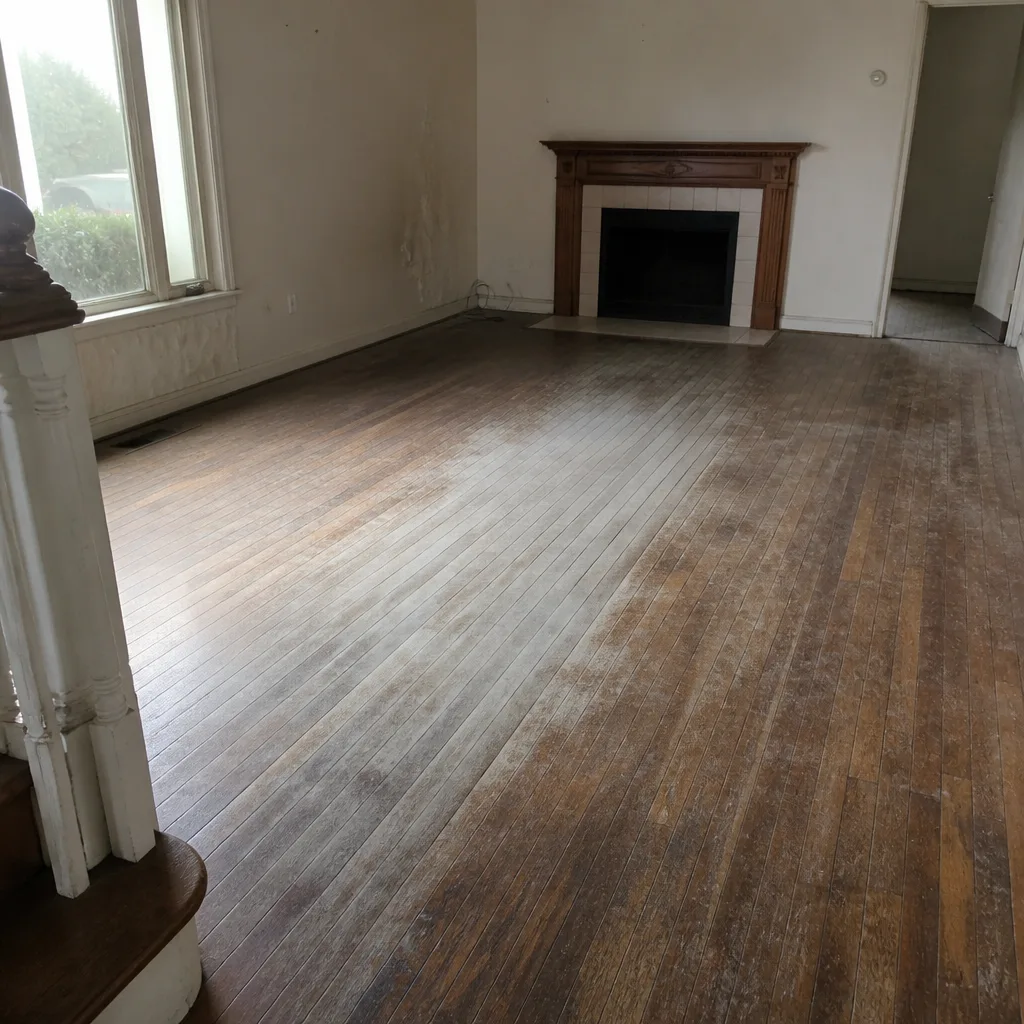 Before
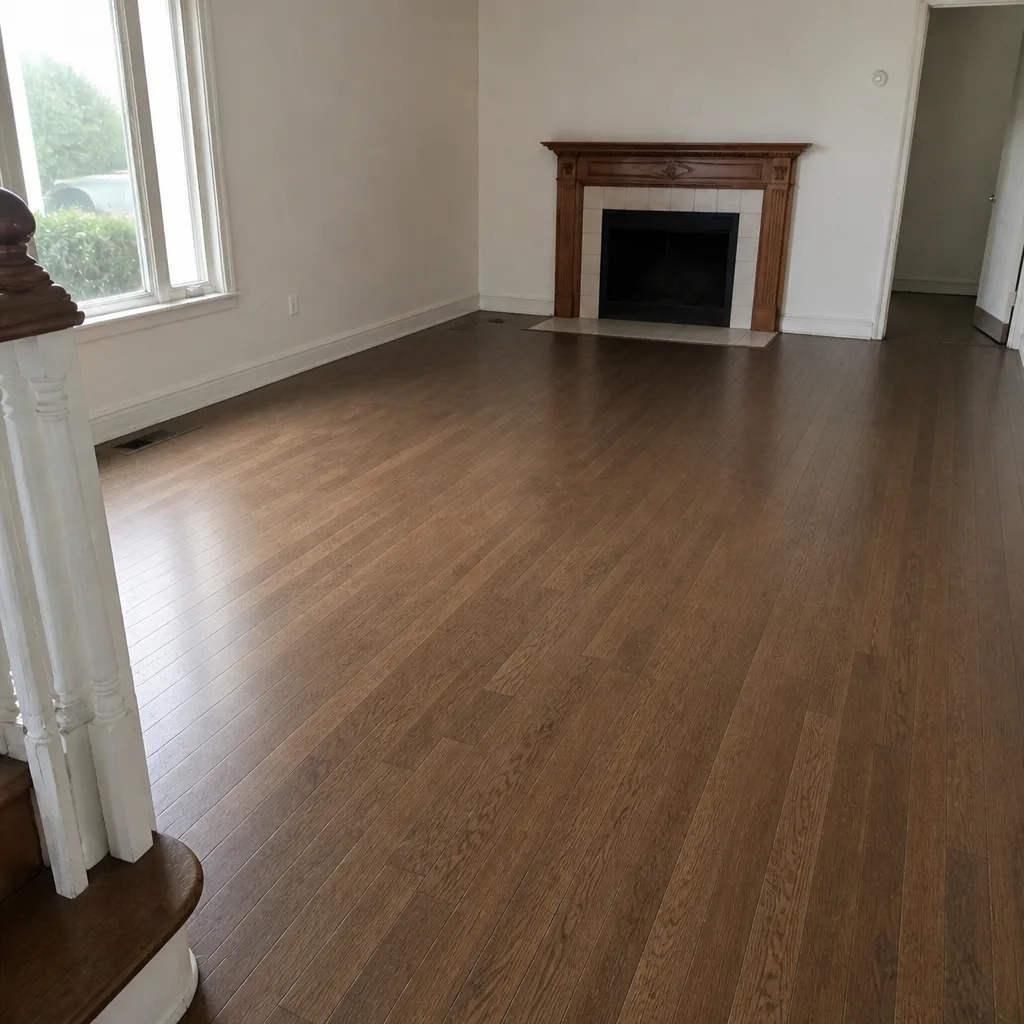 After
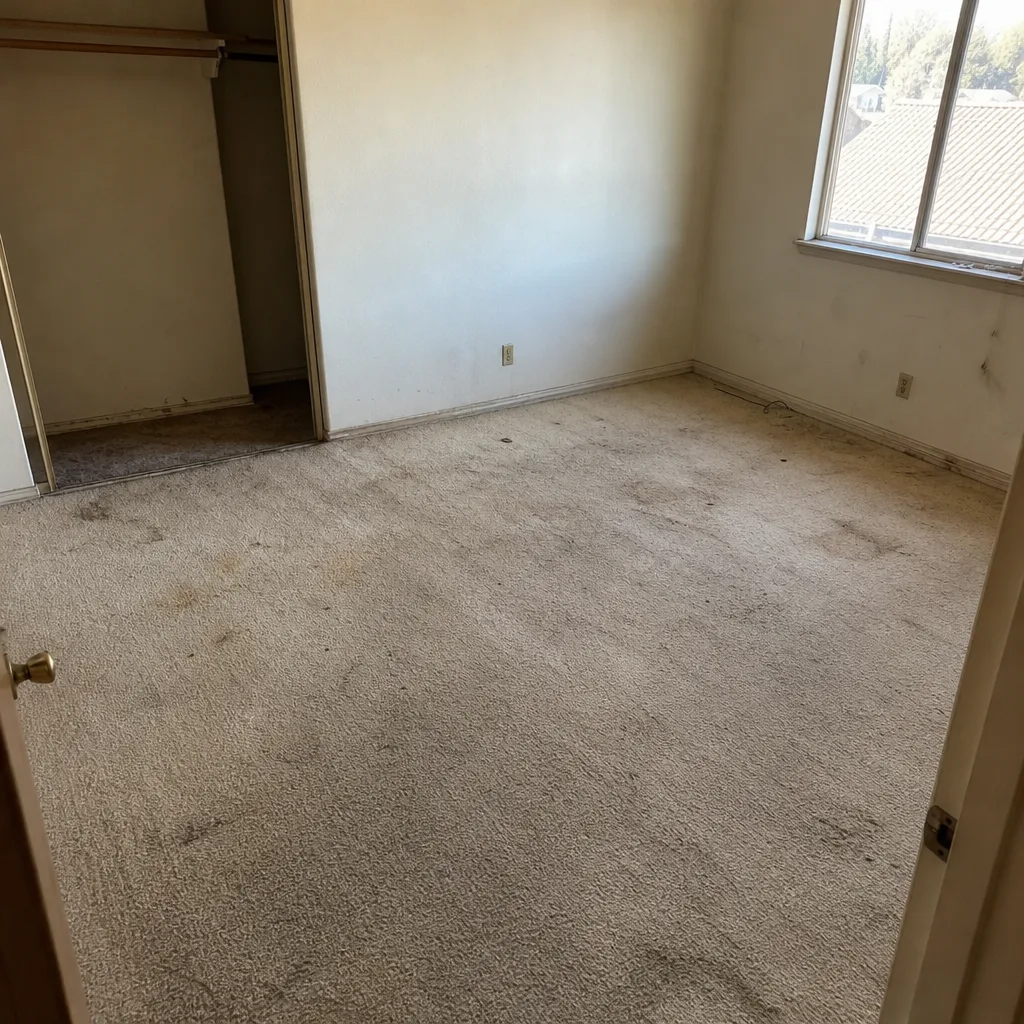 Before
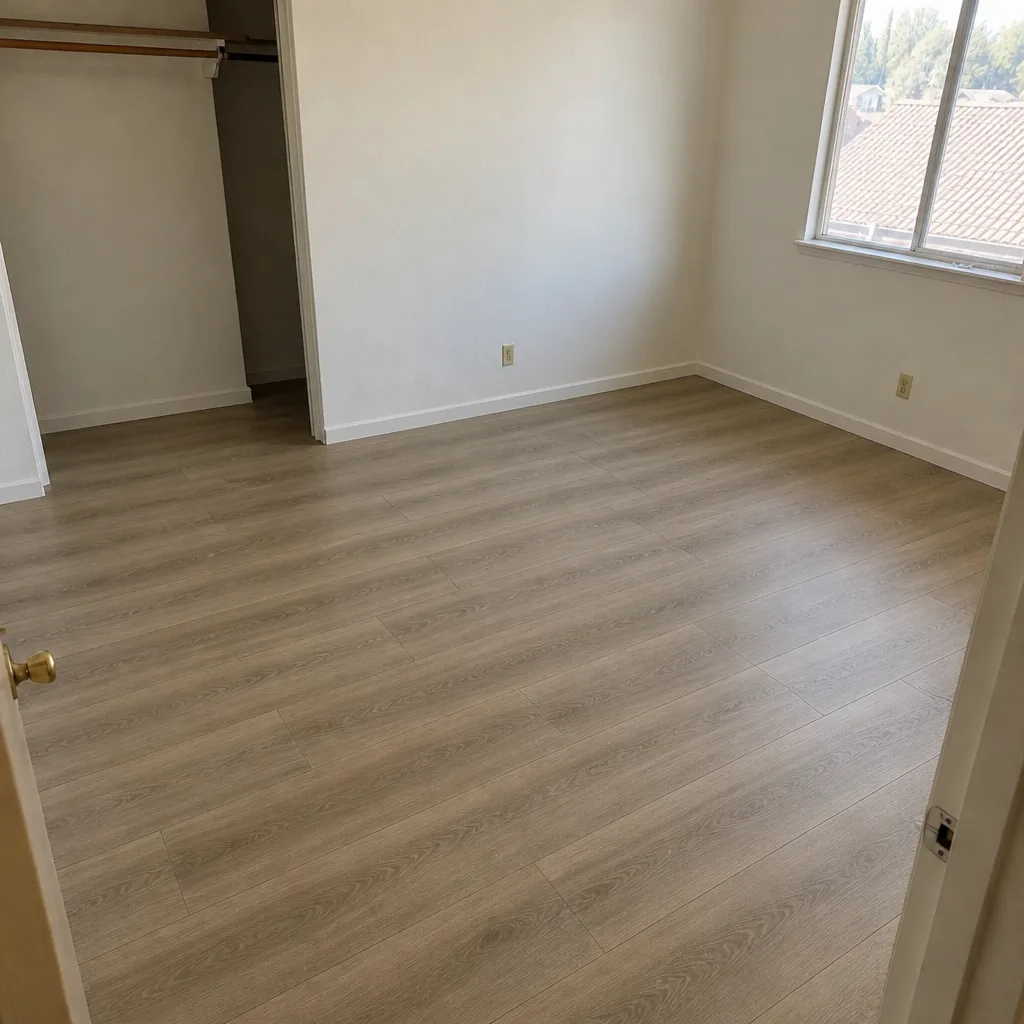 After
When to Call a Professional
A flooring install is a booked job, not a same-day project. If you’re installing carpet, tile, engineered hardwood, or refinishing existing hardwood in a room bigger than a utility space, the professional route is almost always the right one. The prep work, subfloor handling, trim, and door-clearance adjustments are all job-specific, and the estimate visit is where the plan gets accurate. Call us when you’ve got visible slab cracks, multiple floor types to handle in the same home, a refinishing question about existing wood, baseboard or door-casing decisions you’re not sure how to make, or an AC system that’s about to become a problem mid-install. Henderson Flooring Installation offers free estimates in Henderson – call (844) 460-4481 to schedule a walkthrough and get a written price. We answer 24/7, with fast dispatch from 7am to 7pm, Sunday through Friday, and the estimate is set with the final written price in hand before any install is booked.
Frequently Asked Questions
The acclimation window depends on the product and its manufacturer’s installation instructions, not on a fixed rule we apply. Engineered hardwood generally needs the longest on-site window, rigid-core LVP and laminate shorter ones, and tile setting materials depend on room temperature rather than a sit time. The product instructions always set the number, and the written estimate should note it so you know how to plan around it. If you’re not sure, call (844) 460-4481 and we’ll talk through your specific product.
Yes. Moving furniture, emptying closets, and disconnecting appliances are homeowner tasks, and the crew handles the flooring work itself. If a room still has furniture when the crew arrives, that’s the most common reason a job gets rescheduled. The prep is one of the few parts of the process fully in your hands, so it’s worth treating as a real deadline.
Your home should be at a normal occupied temperature, running for several days before the install, throughout the install day, and after. Summer in Henderson is the season this matters most because a house with the AC off can fall well outside a product’s installation spec. The point is steady-state conditions, not a house that gets warmed up at the last minute. The specific range comes from the product instructions, not us.
It depends on the strategy you and the crew agree on at the estimate. Removing and reinstalling baseboards gives the cleanest finish line, while undercutting the bottom of the trim lets the new floor slide underneath without removing it. Either works. What doesn’t work is leaving the trim on and installing the floor tight against it, which is how expansion gaps and buckling happen. Get the decision settled at the estimate visit.
Sometimes, and it depends on the product and the old floor. Some installs allow a new floor over an existing one if the subfloor, the old floor’s condition, and the new product’s requirements all line up. Others require tear-out first. Don’t assume the old floor can stay until the estimate visit confirms it. The written estimate will spell out whether tear-out is included.
You can flag visible slab cracks, high and low spots, old adhesive, floor drains in utility rooms, and any signs of past water damage. You can’t fix any of it, and you shouldn’t try, but flagging it at the estimate lets us plan the right prep. That’s the difference between an accurate estimate and a mid-job surprise. If anything looks off, mention it when you call (844) 460-4481.
The Bottom Line
Prep for a flooring install in Henderson isn’t about tidying. It’s about getting the house into the conditions the product needs: a steady, normal occupied temperature and humidity ahead of time, material acclimated for the window the product specifies, the room fully cleared, and trim and door-casing decisions made before the crew arrives. The subfloor matters too, and flagging visible cracks, high spots, old adhesive, and drains at the estimate saves the mid-job change order. Get those right and the floor you chose has the conditions to perform the way it should. The install is a booked job, not a same-day one: free in-home measure, written price, then a scheduled install day.
Ready to talk through your rooms? Call (844) 460-4481 for a free estimate. We answer 24/7. Fast dispatch from 7am to 7pm, Sunday through Friday. If you’re still choosing a floor, our Henderson service page is the place to start.
Written by the team at Henderson Flooring Installation.