
Last updated November 17, 2026
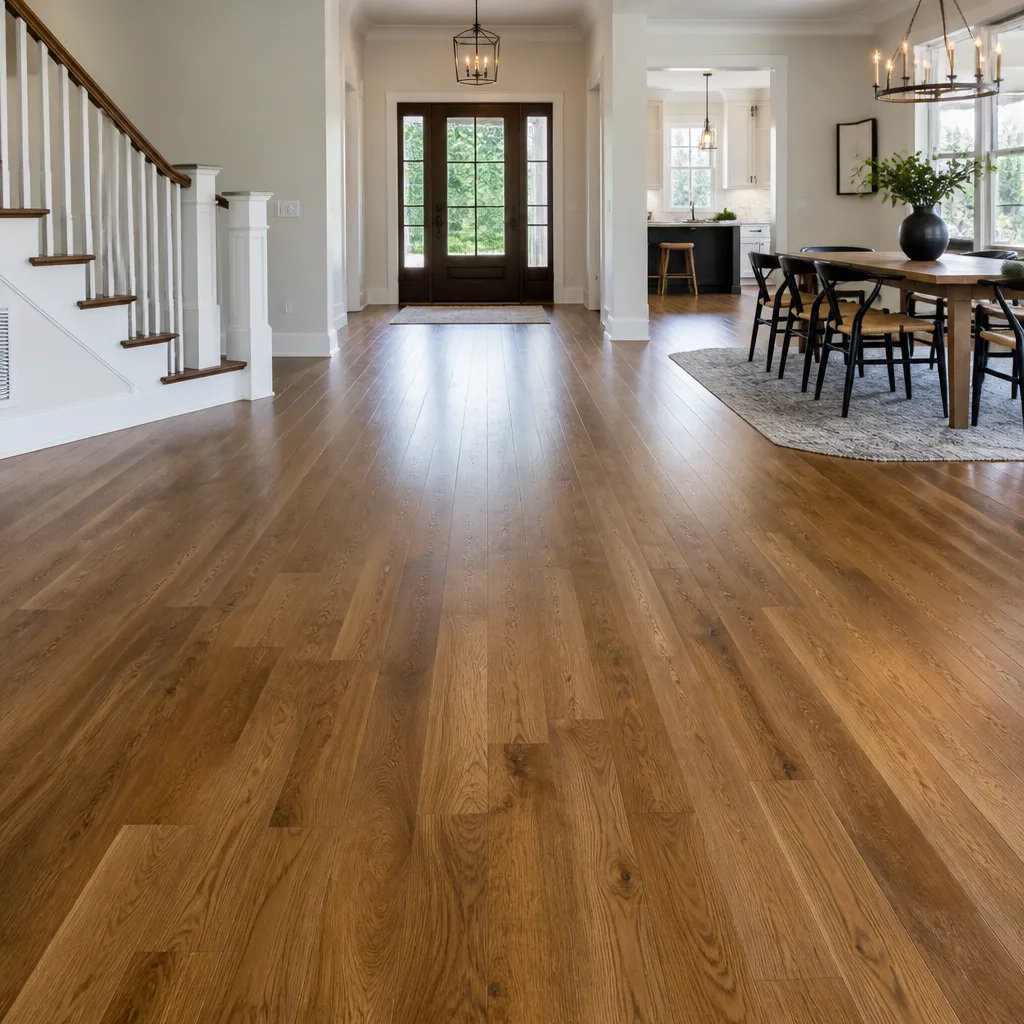 Hardwood
 Engineered hardwood
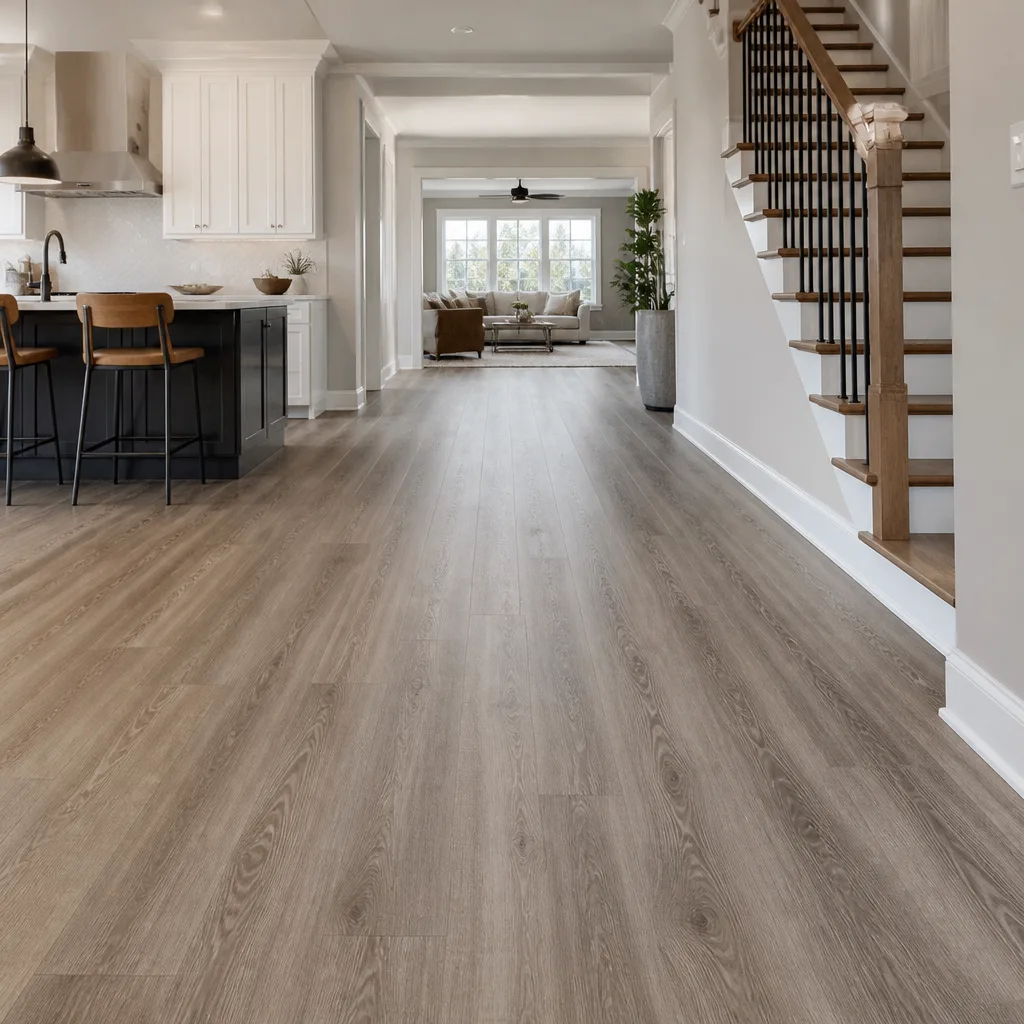 Luxury vinyl plank
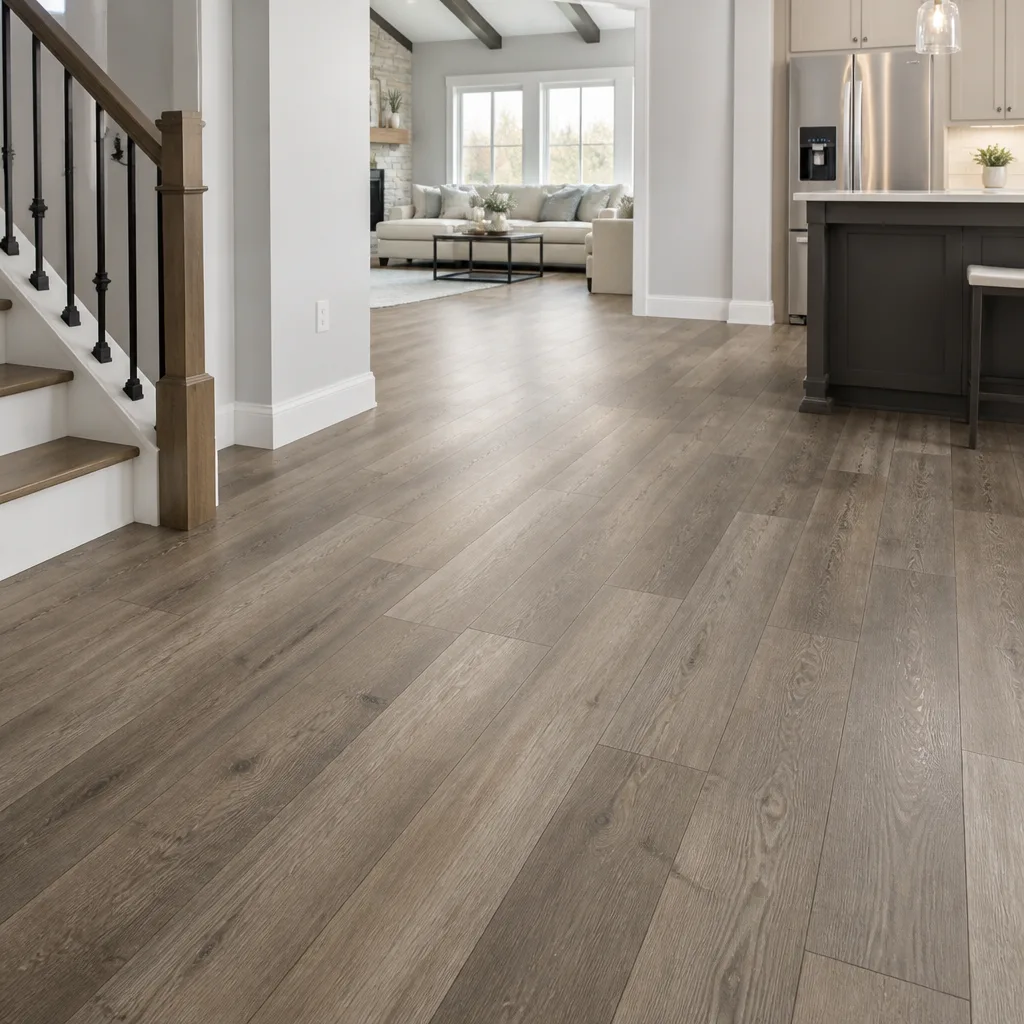 Laminate
 Porcelain tile
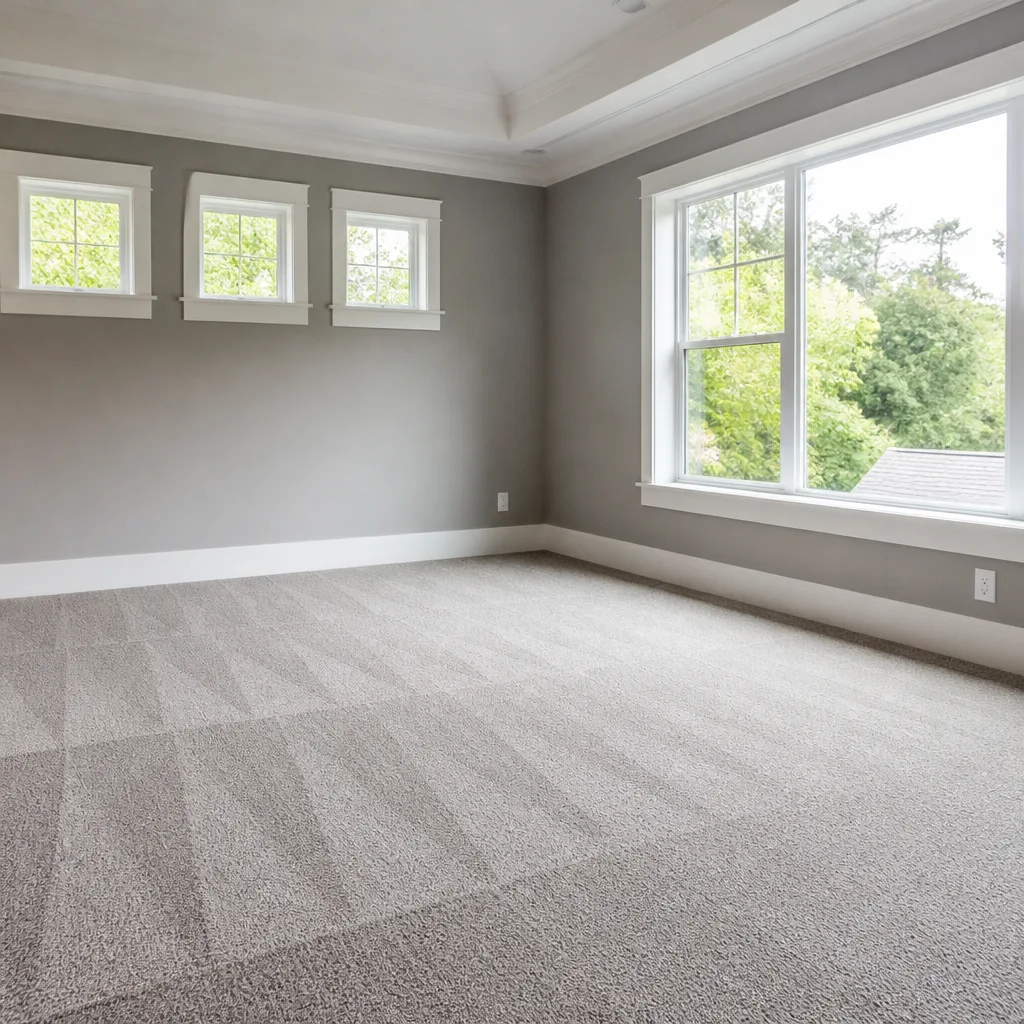 Carpet
 Shaw
 Mohawk
 COREtec
 Pergo
Free in-home measure and written estimate: Shaw, Mohawk, COREtec and Pergo lines compared on your own rooms, with carpet, tile, vinyl plank, laminate and hardwood laid out side by side
Get your free estimateFix It or Start Over: Flooring Repair vs Replacement
A cheap patch over a soft subfloor is money thrown at a symptom. That’s the part most repair-or-replace advice gets wrong: it starts with the budget, when the answer usually sits under the floor you can see. In our experience installing carpet, tile, and hardwood across Henderson, the condition of what’s beneath the surface decides the question long before cost comes up. This guide walks you through the diagnostic steps a professional installer actually uses before quoting either option, from flex tests and moisture checks to product-specific repair thresholds. You’ll finish knowing which floors are worth saving, which ones will keep costing you, and how to run the real cost comparison most estimates skip.
Quick Answer
Repair a floor when the damage is surface-level, the subfloor is sound, and the product is still available in a matching dye lot. Replace it when the subfloor is soft or wet, the damage covers a large area, or the existing material is obsolete. In Henderson, the deciding factor is almost always the slab and subfloor condition, not the flooring on top.
Styles & brands we work with
- Hardwood
- Engineered hardwood
- Luxury vinyl plank
- Laminate
- Porcelain tile
- Carpet
- Shaw
- Mohawk
- COREtec
- Pergo
Table of Contents
- Why the Subfloor Decides the Answer
- The Pre-Quote Inspection Checklist
- Product-by-Product Repair Thresholds
- When Partial Replacement Backfires
- The Cost Math Most Estimates Skip
- Three Henderson Scenarios Where Replacement Wins
- Common Mistakes to Avoid
- Frequently Asked Questions
Why the Subfloor Decides the Answer
Everything you walk on is a system, not a single layer. Carpet, tile, or plank is the finish. Under it sits an underlayment and, below that, the structural subfloor or concrete slab. When the bottom of that stack is compromised, the top fails again no matter how well you patch it. A grout line re-caulked over a flexing slab will crack again. A lifted plank pressed back into place over a damp underlayment will lift again. The repair doesn’t fail because it was done badly. It fails because it addressed the visible layer and left the cause in place.
This is the piece homeowners skip, and it’s understandable. The damage you notice is always on top. But in our experience, the majority of floors that come back to us for a second repair were patched over a problem the first installer never checked. That’s not a knock on anyone. It’s just that the subfloor isn’t visible, so it doesn’t enter the conversation the way a cracked tile does.
Henderson makes this especially relevant. Much of the housing here sits on slab-on-grade construction rather than a raised wood subfloor, which changes what you’re checking for. You’re not looking for a bouncing wood joist system so much as flatness, moisture, and the integrity of the slab and any topping under the finish. A slab that reads flat under a straightedge can still hold moisture that quietly attacks an underlayment. A slab that’s out of plane concentrates stress at the high and low spots, which is exactly where tile cracks first. Before anyone quotes you a repair, the floor underneath has to be tested. If it isn’t, the repair is a guess.
The Pre-Quote Inspection Checklist
A real repair-or-replace decision is a short, systematic inspection. Here’s the sequence a professional installer works through, and what each step tells you.
- Walk the floor and map the flex. Low spots that give underfoot point to a void, a broken topping, or a soft patch in the substrate. Flex in the field, not just at a seam, is a red flag for replacement.
- Listen to the squeaks. Squeaks tell you where fasteners or panels are moving. An isolated squeak is fixable. A pattern of squeaks across a whole room usually means the subfloor attachment or underlayment has given up broadly.
- Check moisture. On a slab, moisture vapor moving up from below is one of the most common hidden causes of failed flooring. A moisture reading at the slab – and, for wood products, at the wood itself – tells you whether a new floor can even go down safely, let alone whether a patch will hold.
- Test flatness. A straightedge laid across the room shows how far the surface deviates. Tile has the least tolerance for an out-of-plane substrate, and hardwood and rigid-core plank aren’t far behind. Flatness gets addressed before any finish goes down.
- Trace the water source. If there’s staining, swelling, or delamination, find where the water came from. A repair over an active or recent leak is temporary by definition. The source has to be resolved first.
- Identify the existing product and its age. Note the brand, the material, and whether it’s still available. This is what makes matching a repair possible – or impossible – later in the process.
This inspection is the part you’re paying a professional for, and it’s worth understanding even if you never pick up a tool. It’s also the honest limit of what you can do yourself. Poking at a floor to find soft spots is fine. Pulling up tile or plank to inspect the substrate, or trying to judge a moisture reading without knowing what the number means for your product, is where a trained installer earns the visit. The inspection conclusions – flex, squeak pattern, moisture, flatness – are the four data points that decide repair versus replace before a single dollar is discussed.
Product-by-Product Repair Thresholds
Not every floor fails the same way, so not every floor has the same repair line. Here’s how the decision breaks down by material, and where each one tips from repairable toward replace.
Carpet: Delamination vs. Isolated Staining
An isolated stain or a single pulled loop is a repair or a spot clean. What kills carpet is delamination – the backing separates from the face, and the whole sheet loses the structure that holds it to the floor. Delamination rarely stays local; it travels. If the backing is separating across a room or along a traffic path, patching a section onto failing backing just moves the failure. Carpet that’s still structurally sound around one damaged area can often be patched cleanly, especially if a matching remnant exists. When it can’t be matched, a full room replacement is the more honest answer, and it’s where our carpet installation work usually starts.
Tile: Grout-Line Cracks vs. Field Tile Cracks
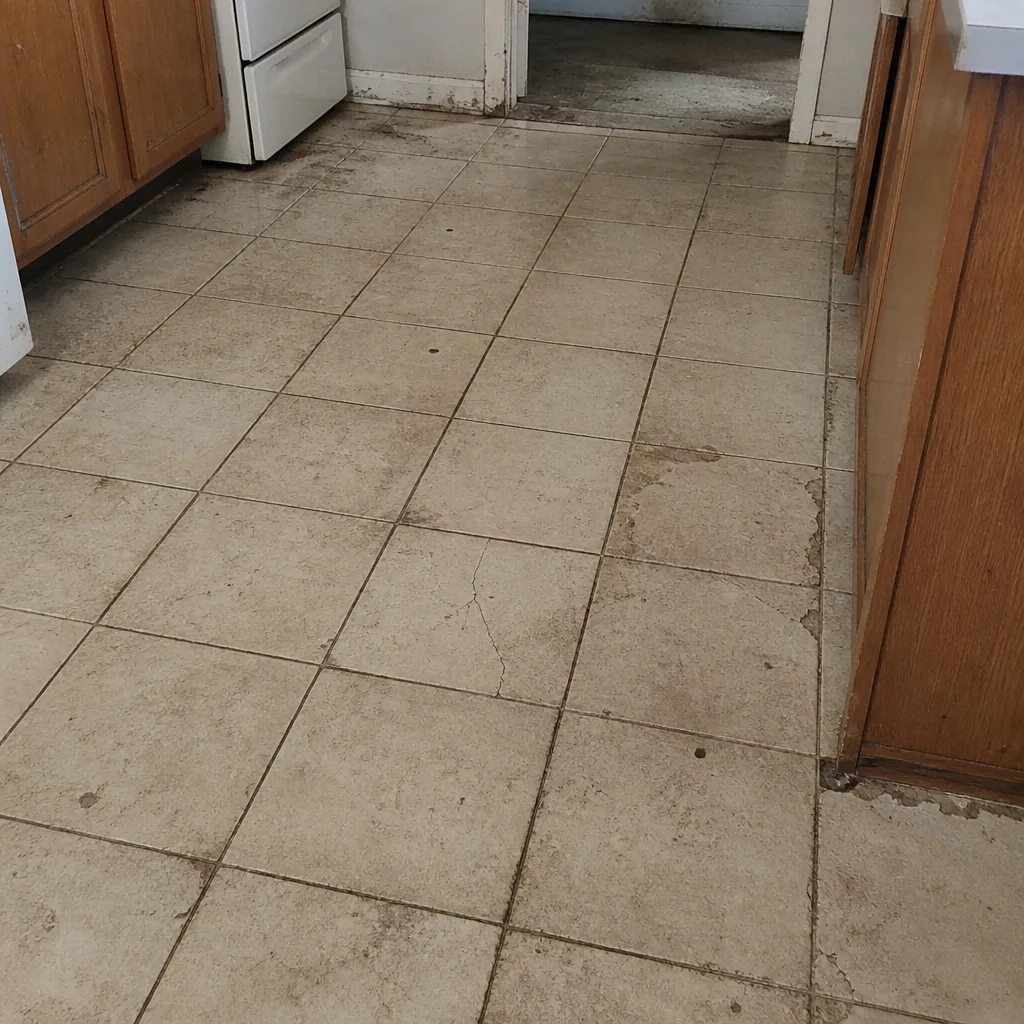
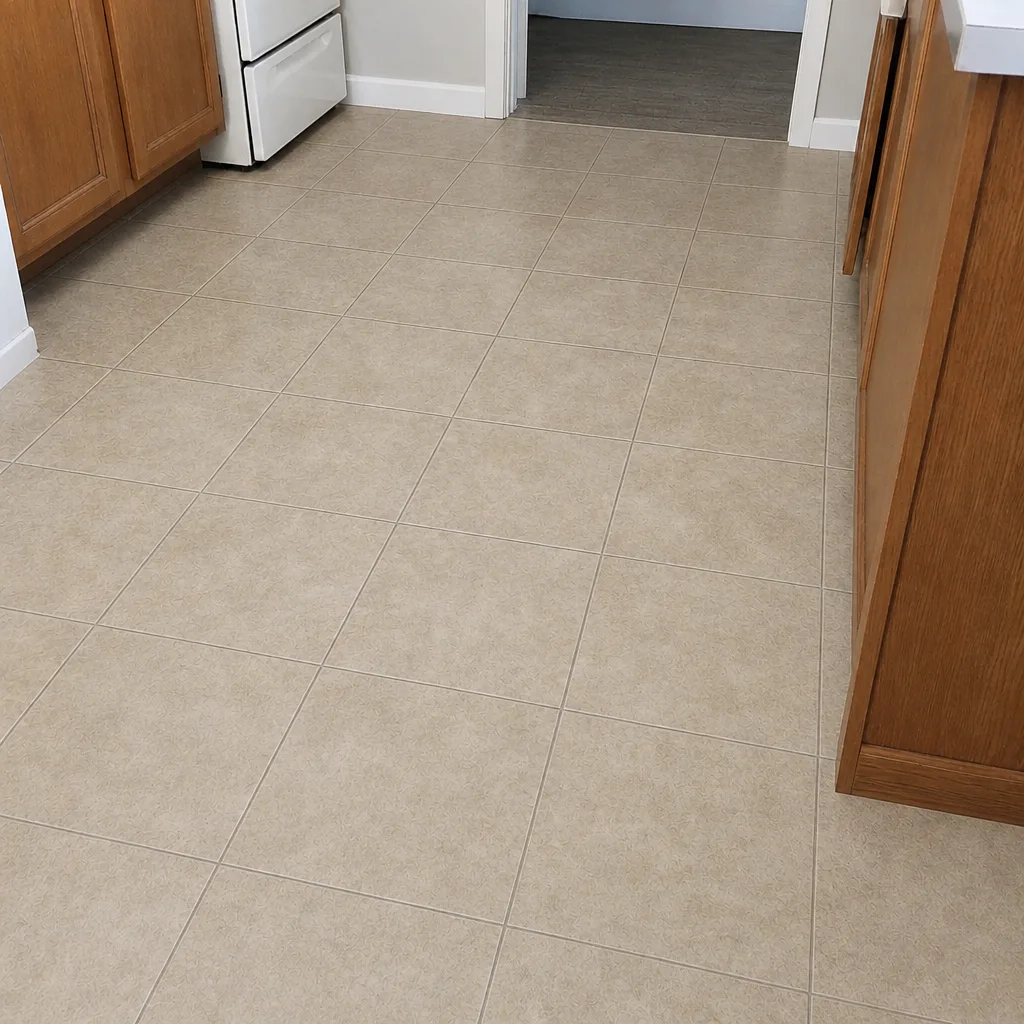
A crack that follows a grout line is usually a movement problem, and grout can be cut out and re-done. A crack that runs through the middle of a field tile is a stress problem – most often a substrate that’s flexing or out of level. Repairing a field-tile crack without addressing the flatness underneath means the next tile cracks in the same area. Isolated field cracks over a sound substrate can be replaced tile-by-tile. A spiderweb pattern across a room is the substrate talking, and that’s a replacement conversation. Our tile flooring installation estimates always start by checking the slab beneath an existing tile floor for exactly this reason.
Luxury Vinyl Plank and Rigid-Core: Seam Lift vs. Plank Failure
A single lifted seam on a floating plank floor is often a repairable click-joint issue. But when the planks themselves are cupping, gapping across the field, or lifting in multiple spots, the problem is usually below – moisture or an uneven substrate – and spot repairs won’t hold. Products like COREtec and LifeProof are built for real life, but they still need a sound, flat, dry substrate. If the floor is lifting because of moisture underneath, replacing a few planks just gives the moisture a new set of planks to work on.
Hardwood: Refinish Before You Replace
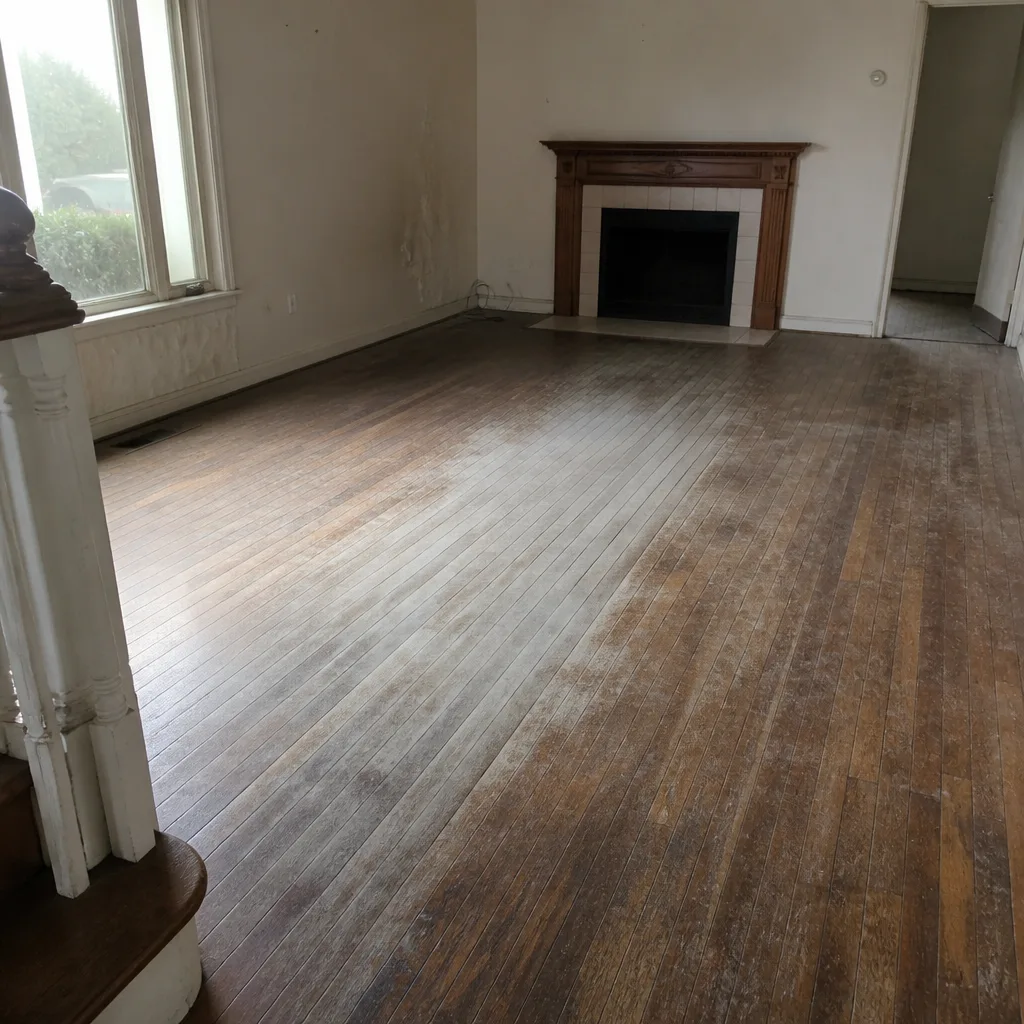
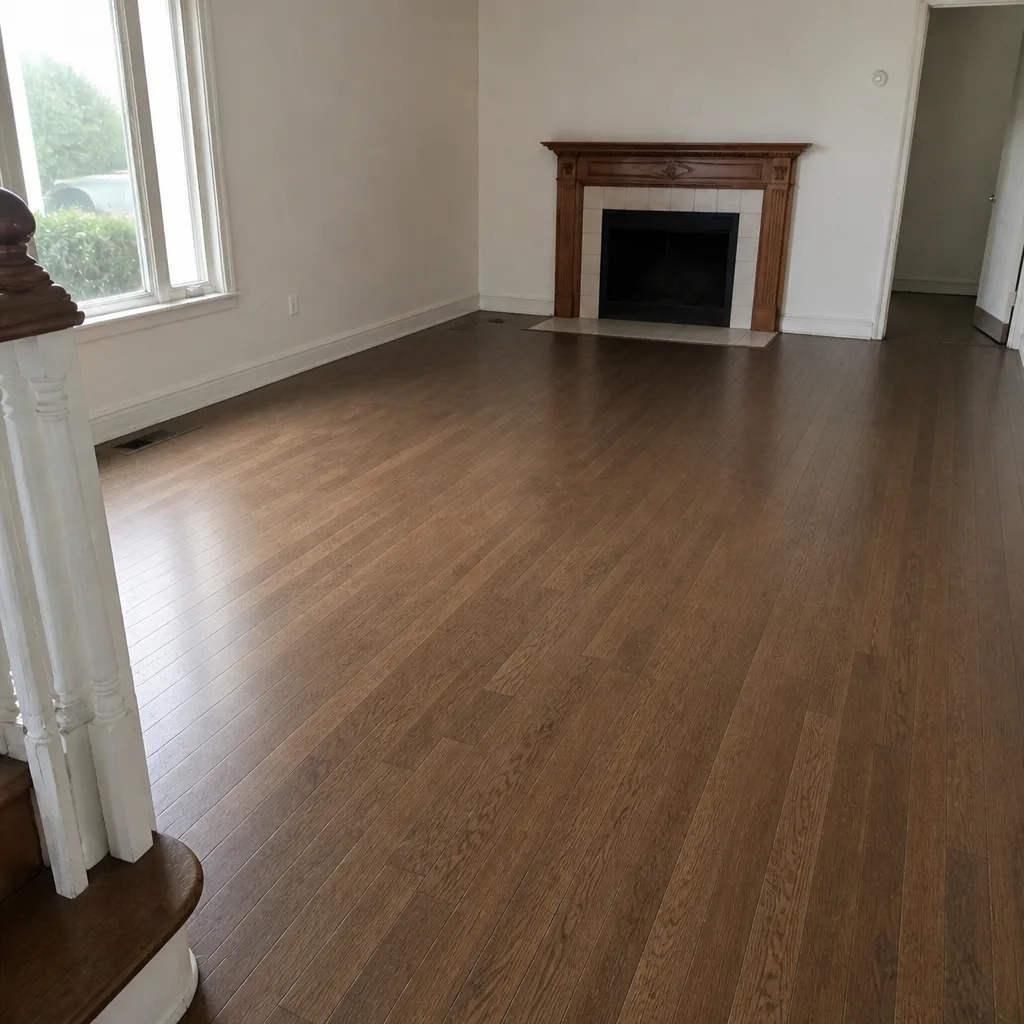
Solid hardwood is the most repairable floor in the house, because it can be sanded and refinished rather than torn out. Scratches, worn finish, and dullness are refinishing jobs, not replacement jobs. The catch is thickness and condition – there has to be enough wood left above the tongue to sand safely. That’s checked at the estimate visit, not assumed. When the wood is thick enough and structurally sound, bringing it back to its original finish is often the better call than covering it, and it’s a service we handle on its own.
When Partial Replacement Backfires
Partial replacement sounds like the sensible middle path: don’t tear out the whole floor, just replace the damaged room or section. Sometimes that’s exactly right. Other times it creates a problem bigger than the one it solved. Here’s where it goes wrong.
- Dye-lot mismatch. Carpet and many resilient products are made in dye lots, and the same color name from a different lot can read visibly different under your lights. Replacing one room of carpet next to another room of the “same” carpet is the classic mismatch, and it’s a permanent one. On a continuous floor, a partial replacement can leave a patch that looks like exactly what it is.
- Discontinued products. The floor in your home might no longer be manufactured in the color or style you have. When that happens, a “partial” replacement quietly becomes a full one because there’s nothing to match. This is why identifying the product early matters – you want to know you can match it before you commit to a patch.
- Transition strip logic. Every partial replacement needs a transition between old and new flooring at some boundary. Done well, a transition strip or seam is intentional and clean. Done to hide a mismatch, it’s a visible line across the middle of a room. If the seam has to fall in an awkward place to avoid matching problems, that’s a sign to reconsider the whole approach.
- Hidden scope creep. Pulling back part of a floor often reveals the same substrate issue throughout. You fix the visible damage, then find the rest of the room has the same soft spot or moisture. The partial repair absorbs the cost of the discovery without solving the whole floor.
The rule of thumb: partial replacement works when the material matches, the substrate is sound throughout, and the seam lands somewhere sensible. When any one of those fails, a full replacement is usually the cheaper path once you count the do-over.
The Cost Math Most Estimates Skip
Here’s where most repair-versus-replace advice stops short. It compares the price of a repair to the price of a replacement. That comparison is incomplete, because a repair and a replacement don’t buy you the same amount of floor life. The honest math looks at cost per year of remaining life, not just the sticker.
Run it like this:
- Repair: take the estimated repair cost and divide it by the years of usable life the repair realistically buys you.
- Replace: take the estimated replacement cost and divide it by the full expected service life of the new floor.
- Compare the two per-year figures, not the totals. A repair is only the better deal if its cost-per-year is lower than replacement’s.
- Add the risk factor. If the repair is sitting on a subfloor issue that isn’t fixed, discount the expected life you’re assuming – because it probably won’t last.
Two patterns show up again and again. A cheap repair on a floor that’s near the end of its life often has a higher cost-per-year than a full replacement, even though its sticker price is lower. And a repair on a structurally sound, mid-life floor is almost always the winner, because the remaining life is long and the cost is small. The number that tips it is the remaining life, and remaining life is a function of the substrate. This is why the inspection comes before the quote: without it, the per-year math is fiction.
We write the final price into a written estimate per job, so you’re comparing a real repair figure to a real replacement figure – not a rough guess against another rough guess. That’s the only version of this math worth doing. Across Henderson, we’ve seen homeowners make the right call once they had both numbers and the substrate findings side by side. What we won’t do is pretend a repair is worth it when the floor underneath won’t support it.
Three Henderson Scenarios Where Replacement Wins
Some situations here resolve to replacement almost every time. These aren’t hypotheticals – they’re the patterns we see repeatedly in Henderson homes, and each one has a specific reason replacement beats repair.
1. Post-Water-Heater Leak Subfloor Damage
Water heaters are a fact of life in Henderson homes, and when one lets go, the water doesn’t always announce itself. It can sit under the flooring and soak the substrate before the finish shows anything. By the time the floor looks wrong, the subfloor or underlayment has often absorbed the damage. Patching the finish over compromised substrate is temporary at best – the moisture is still down there. The correct sequence is to dry and assess the substrate, then replace the flooring that sat on it. If an adjuster or contractor wants to patch and move on, ask what the moisture reading was before the repair. That question is the whole ballgame.
2. Original 1990s Builder Carpet in Resale Prep
Much of Henderson’s housing went up in the 1990s, and a lot of it still has the original builder-grade carpet. When it’s time to sell, patching a stained or worn 1990s carpet almost never pays. The material is at or past its expected life, matching is unlikely, and buyers read worn carpet in the same sentence as “negotiate the price.” Replacing it is a straightforward value move, and a newer product like a Mohawk carpet or a rigid-core plank from COREtec or Pergo changes how the whole room reads. This is a case where the cost-per-year math and the market math point the same direction.
3. Cracked Tile Over an Unlevel Slab
Cracked tile over a slab that’s out of plane is the cleanest example of a repair that won’t hold. You can replace the cracked tiles, but if the slab still has the high spot or the flex that caused the crack, the new tiles are just the next ones to go. The fix is to address the slab first – flattening or correcting the substrate – and then install new tile. At that point you’re replacing the floor anyway, so there’s no reason to chase individual tiles. Our tile flooring installation estimates start with the slab for exactly this reason. This is the scenario where repair versus replace isn’t even a close call.
Common Mistakes to Avoid
- Quoting the finish before checking the substrate. A repair estimate that never looked at flex, moisture, or flatness is a guess dressed up as a plan. Ask for the inspection findings before you accept any repair quote.
- Patching over active moisture. Sealing in the source of the problem guarantees it comes back. If there’s staining or swelling, find the water source first, then decide on the floor.
- Assuming “same color” means a match. Dye lots differ, and so do lighting and wear. A patch that matched on the sample can look off in your room under your lights.
- Choosing repair purely on sticker price. Two floors can have the same repair cost and wildly different outcomes, because one has years of remaining life and the other is at the end of the road.
- Refinishing hardwood without checking thickness. Sanding a floor that’s already been sanded too thin is permanent damage. Thickness and condition get checked before refinishing, not after.
- Letting a partial replacement create an awkward seam. If the only way to patch is a transition strip across the middle of a room, step back and look at the whole floor instead.
- Replacing original flooring without considering refinishing. Solid hardwood that’s structurally sound can often be brought back to its original finish for less than a new floor. Don’t tear out wood that has life left in it.
See the difference
 Before
 After
 Before
 After
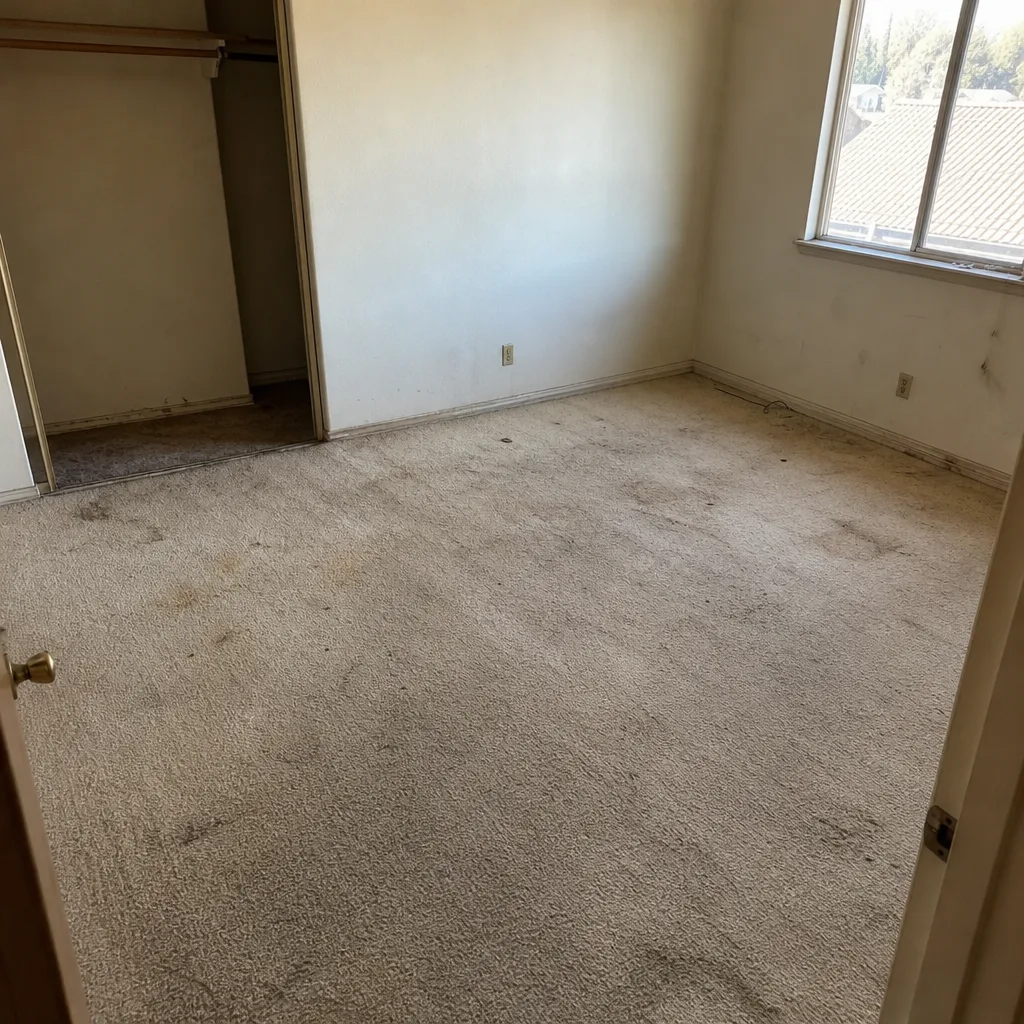 Before
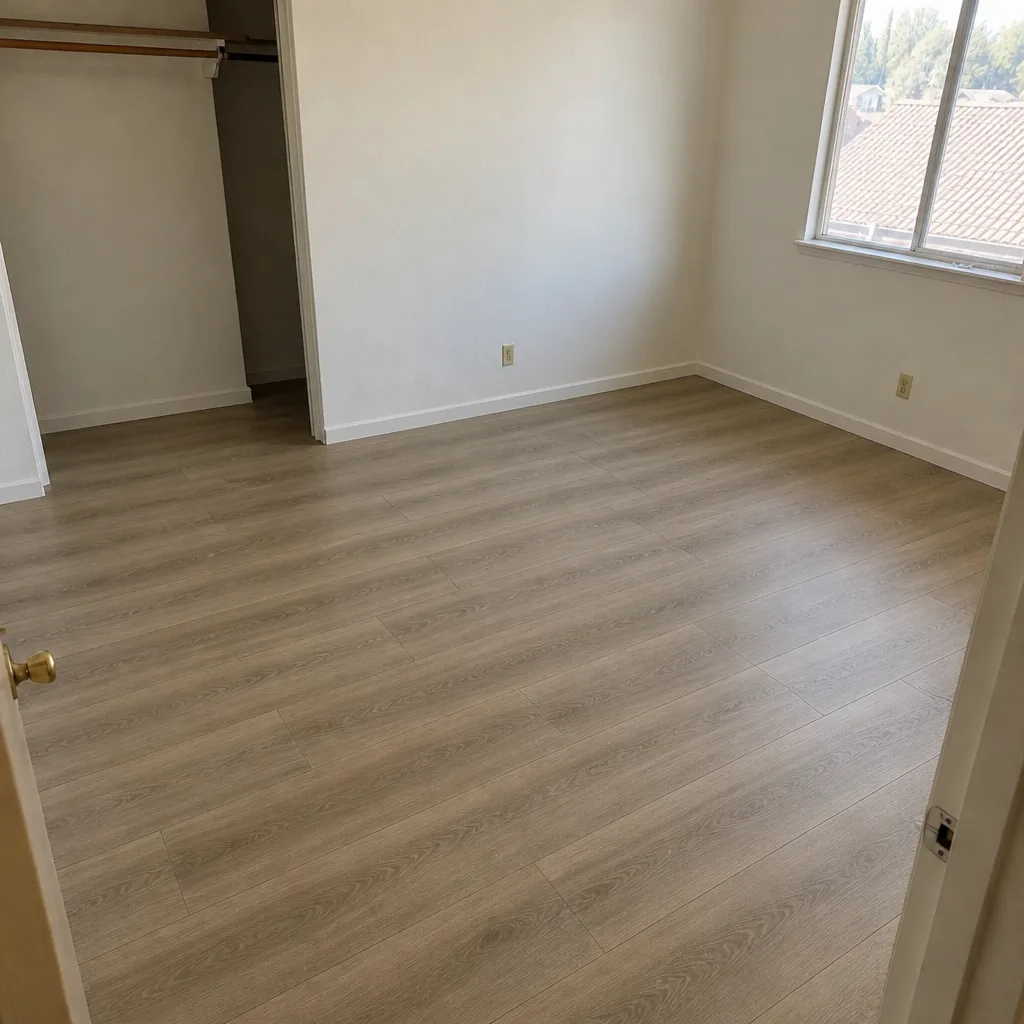 After
When to Call a Professional
You’ll want a professional estimate when the decision involves the substrate – soft spots, squeak patterns, moisture readings, or flatness – because those findings determine whether any repair will hold. You’ll also want one when tile is cracking across the field, when plank flooring is lifting in multiple places, when carpet backing is separating, or when refinishing solid hardwood is on the table and its thickness hasn’t been verified. These are the cases where the wrong call costs you the whole floor. At Henderson Flooring Installation, we install the flooring you choose from brands like Shaw, Mohawk, COREtec, Pergo, LifeProof, Mannington, Armstrong, Daltile, and Karndean, and we offer free estimates in Henderson. Call (844) 460-4481 to start with the inspection that answers the question. We answer 24/7. Fast dispatch from 7am to 7pm, Sunday through Friday.
Frequently Asked Questions
Repair if the subfloor is sound and the damage is surface-level; replace if the subfloor is wet, soft, or out of level, or if the material is discontinued. In Henderson’s slab-on-grade homes, the substrate check is the deciding step. Call (844) 460-4481 for an exact quote – estimates are free.
Flooring repair in Henderson is priced per job by a free written estimate, because the range depends on the material, the area, and whether the substrate needs work. There’s no useful flat rate that covers a spot repair and a section replacement alike. Call (844) 460-4481 and we’ll put the repair and replacement numbers side by side.
A soft or springy spot underfoot, a squeak that moves, or visible swelling and staining all point to subfloor damage. A professional check tests flex, squeak patterns, moisture, and flatness. If you find those signs, don’t patch over them – get the substrate assessed first.
Often yes, if the material is still available in a matching dye lot and the substrate is sound in that room. Problems come up when the product is discontinued or the color no longer matches, which turns a partial replacement into a full one. Identify the product and check availability before you commit.
Refinishing is usually the better call when the wood is thick enough and structurally sound, since it restores the finish without tearing out solid wood. If the plank is too thin to sand or the surface is failing, replacement makes more sense. Thickness and condition are checked at the estimate visit, so call (844) 460-4481 for a free assessment.
A crack through the field of the tile usually means the slab is out of level or flexing, which concentrates stress on the tile. Grout-line cracks are more often movement that can be re-grouted. If tiles keep cracking in the same area, the substrate needs correcting before anything new goes down.
Flooring replacement is a booked job: a free in-home measure and estimate first, then a written price, then an install day scheduled around your home. The schedule is set at the estimate. Call (844) 460-4481 – estimates are free and there’s no guesswork on the timeline.
Yes, the estimate is free, and the price for any repair or replacement is set per job by the written estimate. We answer 24/7. Fast dispatch from 7am to 7pm, Sunday through Friday. Call (844) 460-4481 to book your free estimate in Henderson.
The Bottom Line
Repair or replace comes down to the substrate first and the budget second. If the subfloor is sound, dry, and flat, a repair is usually the better deal, especially on mid-life floors with years ahead of them. If the subfloor is compromised, partial replacements tend to backfire – dye-lot mismatches, discontinued products, and hidden scope keep resurfacing. Run the cost-per-year math on both options rather than the sticker price. Our technicians have up to 9 years of experience, and we’re happy to bring that to the inspection. At Henderson Flooring Installation, free estimates in Henderson start with checking what’s under the floor, before we quote a repair or a replacement.
Contact
Before you spend on a repair that might not hold, get the inspection that answers the question. Call (844) 460-4481 for a free estimate from Henderson Flooring Installation – we answer 24/7, with fast dispatch from 7am to 7pm, Sunday through Friday. We’ll check the substrate, run the numbers on both options, and put the repair-versus-replace call in plain terms so you can decide with confidence.
Written by the team at Henderson Flooring Installation.