
Last updated November 17, 2026
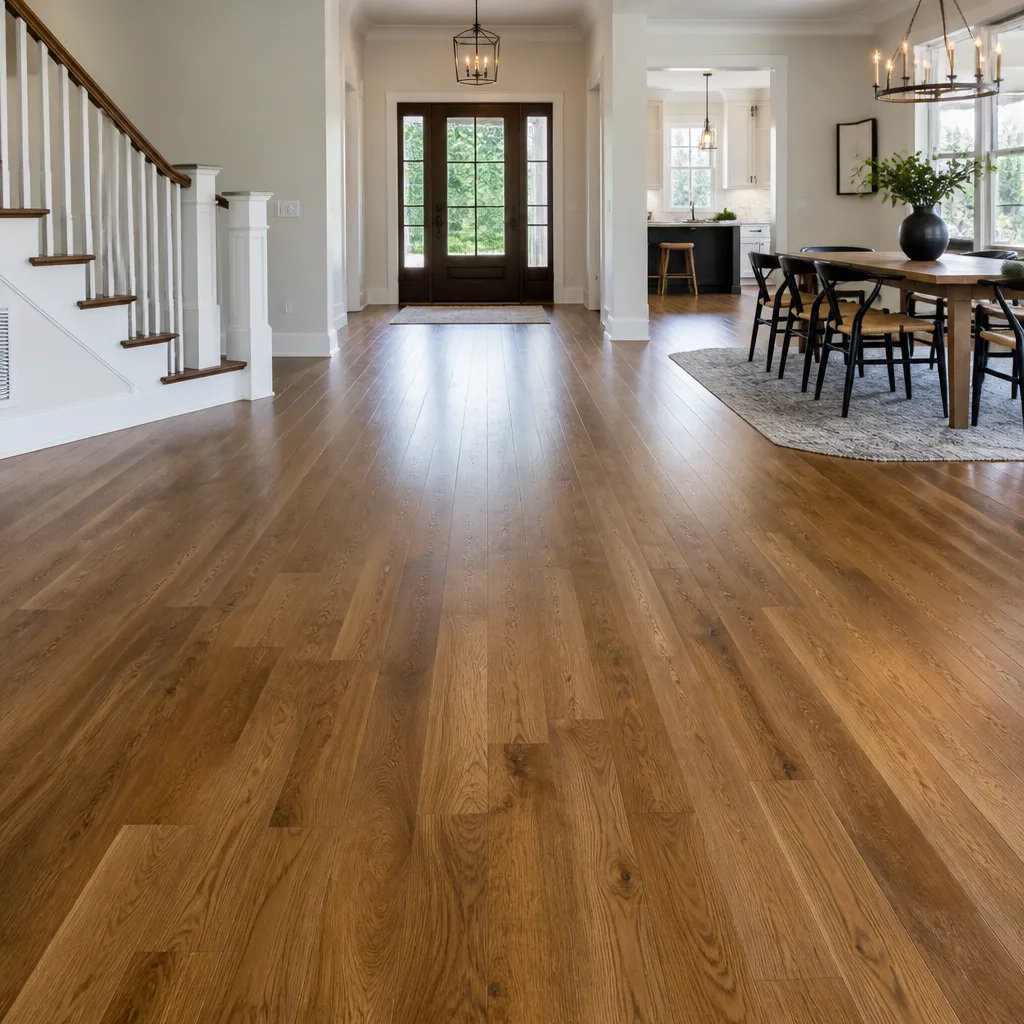 Hardwood
 Engineered hardwood
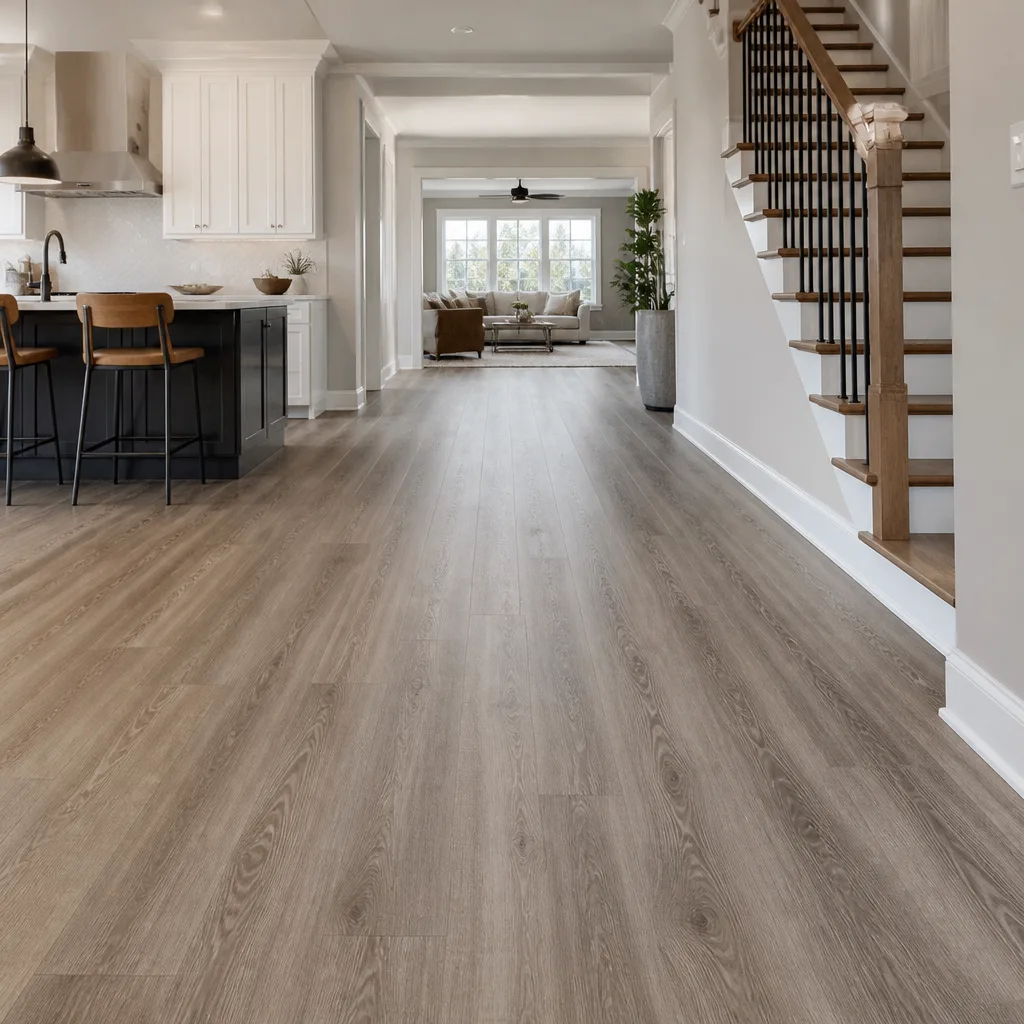 Luxury vinyl plank
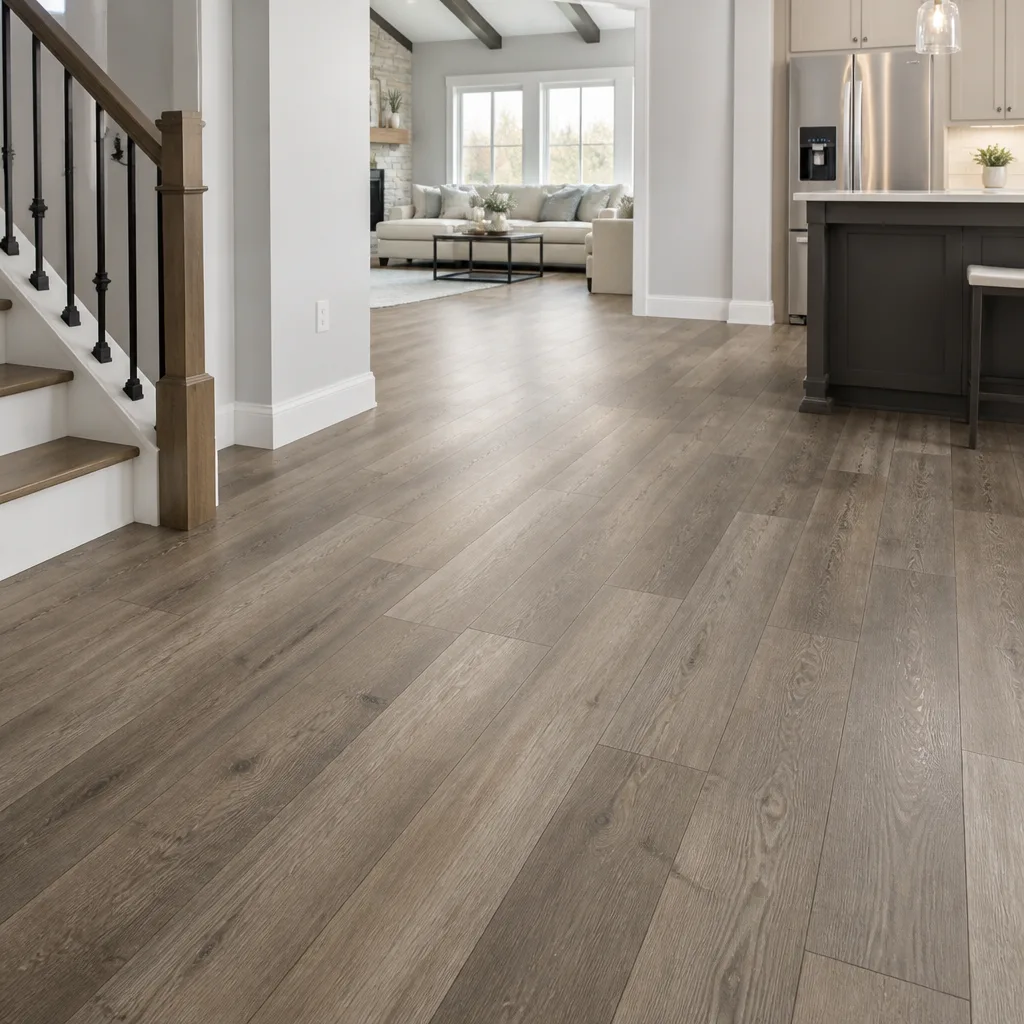 Laminate
 Porcelain tile
 Carpet
 Shaw
 Mohawk
 COREtec
 Pergo
Free in-home measure and written estimate: Shaw, Mohawk, COREtec and Pergo lines compared on your own rooms, with carpet, tile, vinyl plank, laminate and hardwood laid out side by side
Get your free estimateSubfloors Explained: What Sits Under Your New Floor
The floor you can see is only as stable as the surface it’s bonded or floated on, and in Henderson homes that surface is usually a decades-old concrete slab with a moisture and flatness history that no one has tested since the original build. Most flooring decisions get made from the top down: the color, the plank width, the brand on the box. The part that decides whether that floor performs well for its whole service life is the layer you’ll never see again once the install is done. In this guide we’ll walk through the three subfloor conditions that show up again and again in Henderson, how moisture testing actually works, when self-leveling compound earns its cost, and how to read a prep scope in an estimate so you know whether the contractor plans to do the work or just cover it up.
Quick Answer
A subfloor is the structural surface beneath your finished floor – usually a concrete slab in Henderson homes, sometimes wood framing over a crawl space in additions and sunken rooms. It has to be clean, flat enough for the product going on top, and dry enough that moisture won’t migrate up into the new floor. If any of those three conditions is off, the flooring has to be prepared or corrected first, because no carpet, tile, LVP, or engineered hardwood will perform properly over a subfloor that was never brought into spec.
Styles & brands we work with
- Hardwood
- Engineered hardwood
- Luxury vinyl plank
- Laminate
- Porcelain tile
- Carpet
- Shaw
- Mohawk
- COREtec
- Pergo
Table of Contents
- What a subfloor actually does
- The three Henderson slab conditions you’ll run into
- Moisture vapor testing: what the probe measures and why it matters
- Self-leveling compound: when it’s needed and what it costs
- The wood subfloor exception: additions and sunken rooms
- How to read a subfloor prep scope in an estimate
- Matching prep to the product: carpet, tile, LVP, hardwood
- What to expect when the old floor comes up
What a Subfloor Actually Does
The subfloor is the structural layer that carries the load of the finished floor and keeps it stable. It’s not decorative, it’s not visible, and it isn’t something most homeowners think about until something goes wrong. In practical terms, it has three jobs: support the flooring system without deflection, provide a surface flat enough that the product can sit correctly, and stay dry enough that moisture doesn’t push up through the finished floor after install.
In Henderson, the subfloor is usually a concrete slab on grade. The city’s housing stock runs heavily to slab-on-grade construction, which means most installs are bonding or floating directly over concrete rather than over wood framing. That’s a meaningful difference from older parts of the country where pier-and-beam and crawl space construction dominate. A slab behaves differently from a wood subfloor, especially when it comes to moisture, and it needs to be evaluated as concrete rather than treated like a universal surface that accepts any product.
Here’s what a subfloor is responsible for that installers watch for:
- Flatness. Not the same as level – flat. A floor can be sloped for drainage and still be flat enough for flooring. What matters is whether a straightedge laid across the surface shows gaps the product can’t tolerate.
- Cleanliness. Curing compounds, adhesive residue, paint overspray, and dust prevent bonding. Adhesive doesn’t stick to dirty concrete, and floating floors rock over debris.
- Moisture condition. Concrete gives off water vapor for years. Finished flooring products have a tolerance for how much vapor they can accept, and that tolerance varies widely by product.
- Structural soundness. Cracks, spalling, and delamination in the slab have to be addressed before any product goes over them.
When we look at a Henderson subfloor at the estimate visit, we’re checking all four. That inspection determines the prep scope, and the prep scope determines what the finished floor will actually do over time.
The Three Henderson Slab Conditions You’ll Run Into
In our experience with Henderson homes, the slab under a flooring project usually falls into one of three categories. They’re not mutually exclusive – a slab can be out of flat and high in moisture at the same time – but identifying which conditions are present tells you what remediation is required before any finished flooring goes down.
Condition 1: Good – the slab is clean, within flatness tolerance, and within the moisture range for the product
This is the case where prep is minimal: a thorough cleaning, some patching of small blemishes or minor crack fill, and confirming the moisture reading is within the tolerance for the product being installed. It’s not no-prep, but it’s the simplest scope, and it’s the case where the estimate is shortest and the install schedule is most predictable.
Condition 2: Alkaline-high-moisture – the slab is giving off more vapor than the product will tolerate
Concrete slab moisture isn’t a visible puddle in most cases. It’s vapor transmitting up through the slab at a rate that the finished floor has a tolerance for. In Henderson, where slabs sit on grade in a hot, dry climate, we still see high-vapor slabs – often older pours, or pours under rooms that saw long-term moisture exposure at some point. When the vapor rate is above the product’s tolerance, the sequence is usually: address the source if there is one, then install a vapor barrier or moisture mitigation system that the product manufacturer’s instructions call for. Skipping that step is the single most common reason LVP and engineered hardwood failures show up – cupping, gapping, lifting planks.
Condition 3: Out-of-flat – the slab is structurally sound and dry, but the surface doesn’t meet the flatness tolerance of the product
Slabs that were poured with less-than-perfect finishing, or that have heaved or settled, can be dry and solid but not flat enough for certain products. LVP and engineered hardwood especially are unforgiving of surface variation. Tile can bridge small variation with the right thinset technique, but large humps or dips cause lippage and hollow spots. Remediation is generally a self-leveling compound or a grinding operation, depending on which way the surface is off.
Most Henderson estimates turn on which of those three conditions is present, or what combination. You can’t skip the inspection and still write an accurate prep scope.
Moisture Vapor Testing: What the Probe Measures and Why It Matters
Concrete moisture testing isn’t optional for hard surface flooring in Henderson, especially over slab-on-grade. The relevant test is the in-situ relative humidity probe method, ASTM F2170, which drills into the slab and places a sensor at a specified depth to measure the humidity within the concrete itself. That’s different from a surface meter, which only reads roughly the top fraction of an inch and is far less reliable for assessing what’s happening deeper in the pour.
Here’s how the probe test works in outline:
- Test holes are drilled to a specified depth in the slab – the depth is set by the test standard and the slab thickness, not improvised.
- Sleeves are inserted and sealed so the probe is reading the concrete, not the room air above it.
- The slab is left to equilibrate for a period defined by the standard before the reading is taken.
- The probe reports relative humidity inside the concrete as a percentage.
What counts as a passing reading depends entirely on the product going on top. Some products tolerate higher vapor rates than others. LVP and engineered hardwood products specify their tolerance in their installation instructions, and it varies by brand and by product line within a brand – Karndean and Shaw products don’t necessarily have the same tolerance. Tile installed with the appropriate membrane or mortar system is generally more forgiving than a floating plank, but tile also cares about subfloor flatness and needs a stable substrate. The point is: the tolerance is a per-product number, the probe reading is a per-slab number, and the installer’s job is to confirm the first number exceeds the second before any finished material is opened.
What happens when the test gets skipped: the flooring goes down over a slab that can’t be brought into tolerance after the fact. Planks cup or lift, tile loses bond, enginered products develop gapping at the seams. By the time the symptoms show, the prep work that would have prevented it requires tearing out the new floor. A probe test on a Henderson slab is a low-cost step in the overall project; the cost of skipping it is the whole install.
Self-Leveling Compound: When It’s Needed and What It Costs
Self-leveling compound is a cementitious or gypsum-based material poured over a subfloor to bring it into flatness tolerance. It’s not a leveling material in the sense of correcting slope – it flows to flat, not level. It’s used when the slab is out of flat beyond the tolerance for the flooring being installed, or when the surface needs a smoother substrate for bonding.
When self-leveler earns its cost in a Henderson project:
- The slab has dips or humps that would show through tile or cause LVP seams to fail.
- The slab has damage from a previous floor removal – gouges or divots left when adhesive or thinset was scraped off improperly.
- The slab is so rough or pitted that the finished product can’t achieve bond or support.
- A moisture mitigation system on the slab requires a level surface for its installation.
The product going on top matters here. Composite LVP like COREtec and LifeProof generally specifies a tight flatness tolerance because the planks have to interlock without rocking or gapping. Tile can sometimes tolerate more minor variation because thinset can take up small amounts of variation during installation, but large humps or dips still cause lippage, and lippage in a large-format Daltile tile is visible and permanent. Engineered hardwood and refinishing work over existing floors have their own tolerance requirements depending on the product.
On cost and schedule, self-leveling compound adds time before the floor install can start – it has to cure to the depth it was poured before the finished material goes down, and the cure window depends on the product spec. On cost, the range depends on how much area needs prep and how thick the pour has to be, so we quote it as a line item in the written estimate rather than folding it into a per-square-foot number. The written estimate sets the final price for the prep and for the install.
The Wood Subfloor Exception: Additions and Sunken Rooms
Not every Henderson home is slab-on-grade throughout. Wood-framed room additions, sunken living rooms, second stories, and some older homes with pier-and-beam construction have wood subfloors – usually OSB panels or plywood over joist framing. That changes the prep requirements in several ways.
Wood subfloors need to be evaluated for:
- Deflection. The framing has to be stiff enough that the finished floor doesn’t flex under normal loads. Tile is the most demanding here – deflection has to be within the tile product’s tolerance, which often requires the installer to add a decoupling membrane or an underlayment layer over the wood.
- Flatness. OSB panels can be flat but not level, or level but not flat at panel seams and joist locations. Fastener depth and panel condition matter here too.
- Moisture content. Wood subfloors are affected by the humidity in the crawl space below and the ambient conditions in the room above. The product instructions tell you how the wood needs to be conditioned before install.
- Framing gaps and penetrations. Openings in a wood subfloor around plumbing or HVAC penetrations need to be sealed before finished floor goes over them, so air movement doesn’t create hot or cold spots that affect the install.
In a crawl-space home, the crawl space itself is part of the subfloor story. If it has moisture issues, the wood subfloor above it will see those issues too, and any preparation has to account for that. For a tile install over a wood addition, the correct prep sequence usually includes an underlayment or decoupling layer that the tile product instructions call for. For a floating LVP over a wood subfloor, the prep may be as simple as grinding high spots at seams and confirming the surface is dry – or as involved as adding underlayment if deflection is marginal. The right sequence depends on the specific product, and the product instructions and the written estimate set the final word.
How to Read a Subfloor Prep Scope in an Estimate
A written estimate for a Henderson flooring project should be specific about subfloor work. If it isn’t, that’s the first sign the prep is being glossed over. Legitimate prep scope reads like a series of defined tasks with quantities attached; weak prep reads like a shortcut described in vague language.
What a clear prep scope usually includes:
- A named moisture test and its result. Not just “moisture checked” – the specific test, the number, and the pass criteria for the product going on top.
- A flatness check. The method used (typically a long straightedge and gap measurement) and any area identified as out-of-tolerance.
- Quantified remediation. Square footage of self-leveler, linear feet of crack repair, area of moisture barrier, area of grinding. Quantities are the difference between a real scope and a hope.
- Product-specific notes. A Shaw carpet install over a slab, a Karndean product over concrete, a Daltile tile over a wood addition – each has different substrate requirements, and the scope should reflect the product being installed.
- Contingency language. A line about what happens if the conditions found at install differ from the estimate visit, and how that gets priced in writing before additional work proceeds.
What weak prep reads like: “Prep included,” “minor floor prep as needed,” “subfloor condition-appropriate prep” with no quantities and no test result. Those phrases tell you the installer hasn’t scoped the prep and plans to make it up at install – or to install over the problem and hope the product covers it.
If you want a prep scope you can actually evaluate, ask for the moisture test result, the flatness measurements, and the remediation line items. A flooring specialist will have all three; a contractor who’s planning on floating over problems won’t.
If your project is across the valley, our Henderson page and the Henderson Flooring Installation overview both cover what a proper estimate visit looks like. Our carpet installation and tile flooring installation pages show how prep requirements change by product.
Matching Prep to the Product: Carpet, Tile, LVP, Hardwood
The prep work isn’t universal across flooring types – what’s acceptable for one product isn’t for another. The four main categories need to be evaluated against different thresholds, and in Henderson where we install all of them in the same home, that means the prep plan for a whole-house project is often a room-by-room map rather than a single set of specifications.
Carpet
Carpet over concrete is generally the most forgiving hard-surface tolerance question since it sits over padding, but it still needs a clean, dry, flat-enough slab for the tack strip to be set correctly and for the pad to lie without wrinkles. Cracks and divots still need patching, and moisture is still a consideration – a slab that’s too wet for the carpet backing or the pad can cause problems, so the product instructions and the pad instructions are what start the conversation.
Tile
Tile tolerates minor surface variation through thinset thickness, but it’s demanding on flatness at a different scale: large-format tile especially has almost no tolerance for lippage. A Daltile tile installed over a slab with high spots will show visible lippage at the edges. Tile over a wood subfloor needs the deflection and the appropriate underlayment or membrane addressed before the first tile goes down. The prep on a tile project usually focuses on flatness correction and deflection control.
LVP and LVT
Products in the COREtec, LifeProof, and Karndean families are rigid-core planks that float over the subfloor. They specify a tight flatness tolerance and a defined moisture tolerance in their installation instructions. They don’t bond to the slab, so the prep for a floating floor is about giving the planks a surface they can lock together over without rocking. High spots and debris cause interlock failure; excessive slab moisture causes cupping and gapping. These products have specific tolerances and they need to be tested against them, not assumed.
Engineered hardwood and refinishing
Engineered hardwood products bond or float over the slab depending on product type, and they have their own moisture and flatness tolerances. Refinishing an existing existing hardwood floor has its own prep consideration: the condition and thickness of the existing wood determine whether it can be sanded down and refinished at all, which is checked at the estimate visit. Refinishing is a service we offer as a standalone scope, so the decision on whether to refinish or replace is a prep-and-product conversation, not a foregone conclusion.
What to Expect When the Old Floor Comes Up
The subfloor you find under the old floor is often not what was visible at the estimate visit. The condition underneath depends on what the old floor was and how it was installed.
The common scenarios in a Henderson removal:
- Old carpet up, slab exposed. Usually the cleanest removal, unless the tack strip or the pad left residue that has to be addressed before the new install goes down.
- Old tile up. Thinset left behind after the tile comes up needs to be ground flat or patched. This is the case where the prep line item tends to grow.
- Old adhesive from a glued floor. Adhesive residue has to be removed before the new floor can bond, or it has to be encapsulated in a way the new product’s installation instructions support.
- Old LVP up. Usually a clean removal for floating products, but underlayment beneath it may be damaged or need replacing.
If the conditions found at removal differ from what the estimate visit found, the written estimate sets how the additional work gets priced before it proceeds. That’s why a detailed prep scope matters at the front end – it’s what keeps the install project from turning into a series of surprises.
Common Mistakes to Avoid
- Skipping the moisture test because it “looks dry.” Concrete vapor isn’t visible. A slab that looks and feels dry can still read above the tolerance for some products, and the failure won’t show until months after install.
- Assuming flatness by eye. A long straightedge and a feeler gauge catch humps and dips the eye doesn’t. LVP and engineered products especially need to be checked rather than assumed.
- Treating all slabs the same. A Henderson slab from the 1970s and a slab poured five years ago may have very different moisture conditions and surface quality. Year of construction is a starting clue, not a final answer.
- More leveler than needed. Self-leveling compound is a real cost, and pouring it over a slab that only needed small crack repair is an unnecessary line item. Ask what flatness readings drove the quantity.
- Ignoring wood subfloor deflection in additions. A room addition over a crawl space with marginal framing may need underlayment before tile. Skipping that step leads to cracked grout and tile.
- Trusting “prep included” in a quote. If the estimate doesn’t itemize the moisture test, the flatness check, and the remediation, the prep is either not happening or it will show up as a change order later.
- Not matching prep to product. A prep scope built for tile doesn’t work for a floating COREtec plank, and vice versa. The product goes on top, so the product tolerance drives the prep.
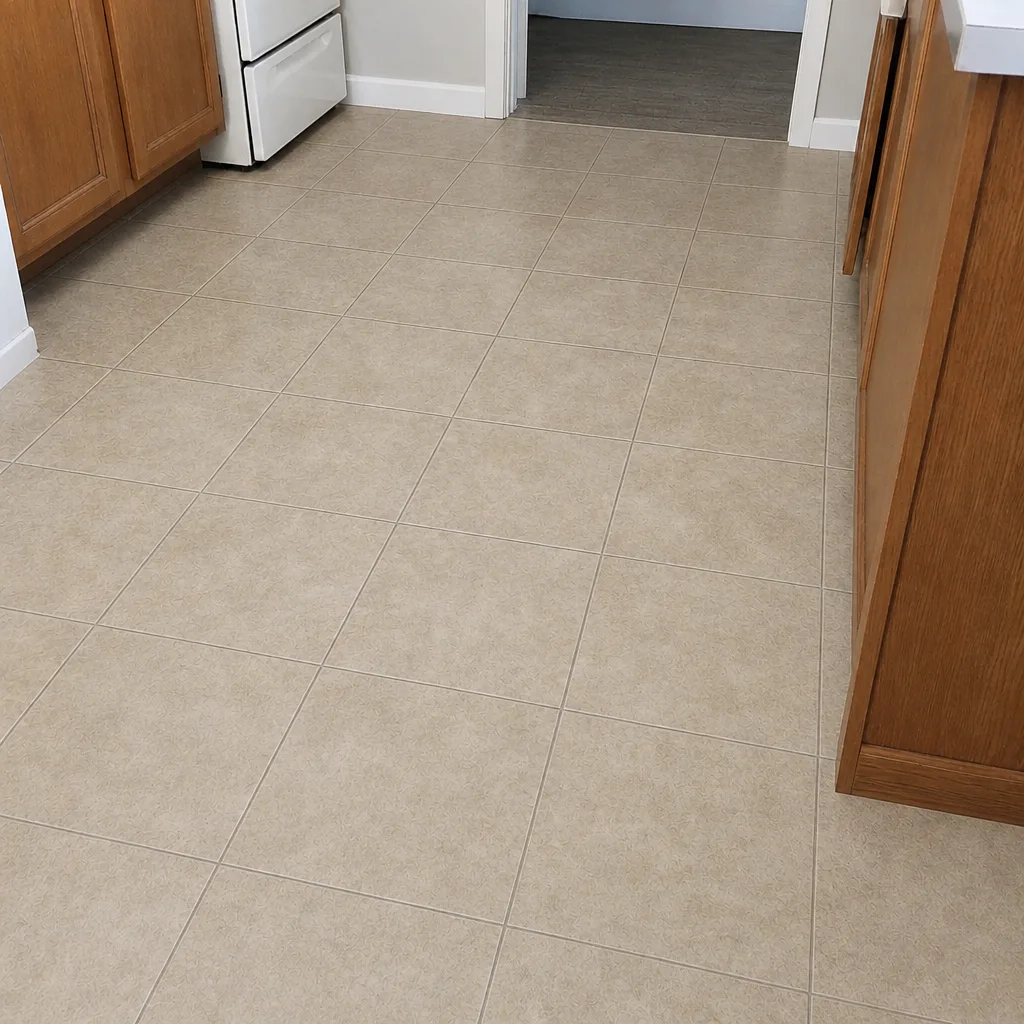
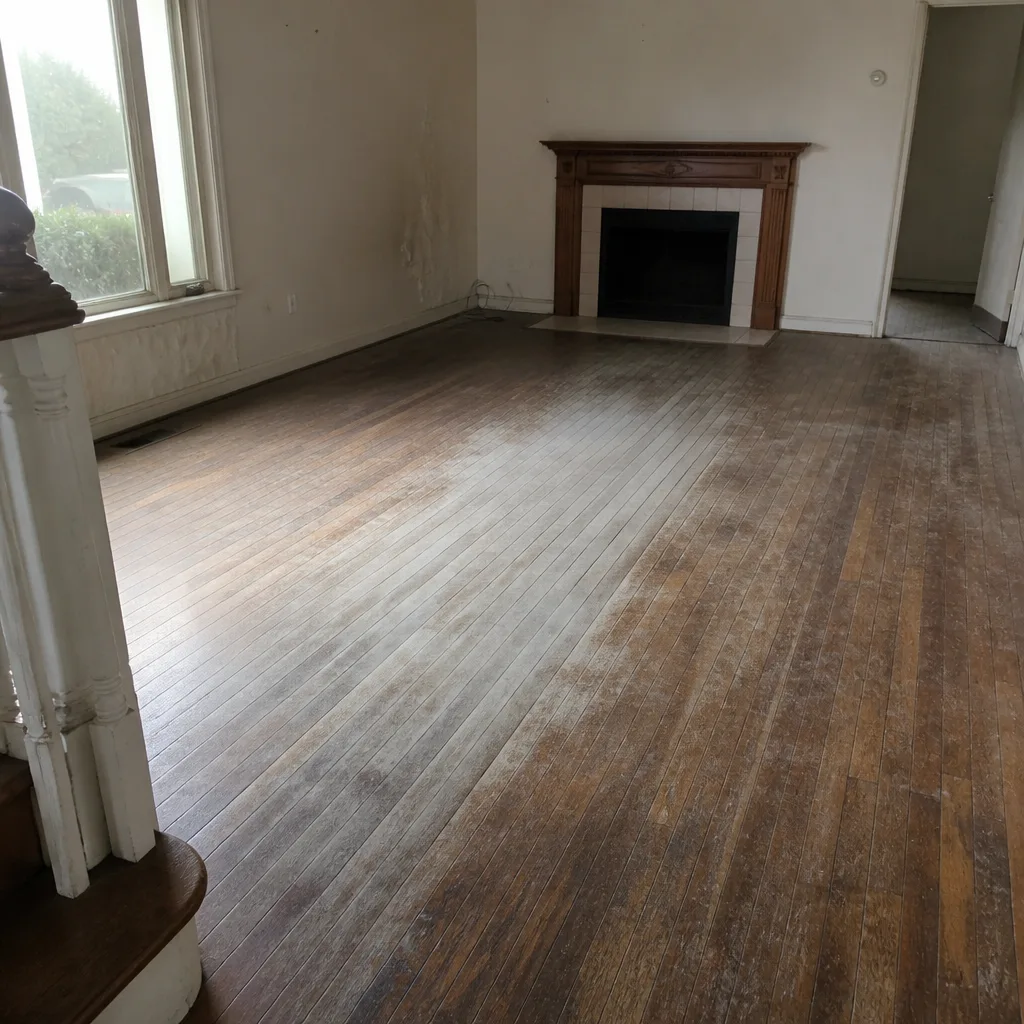
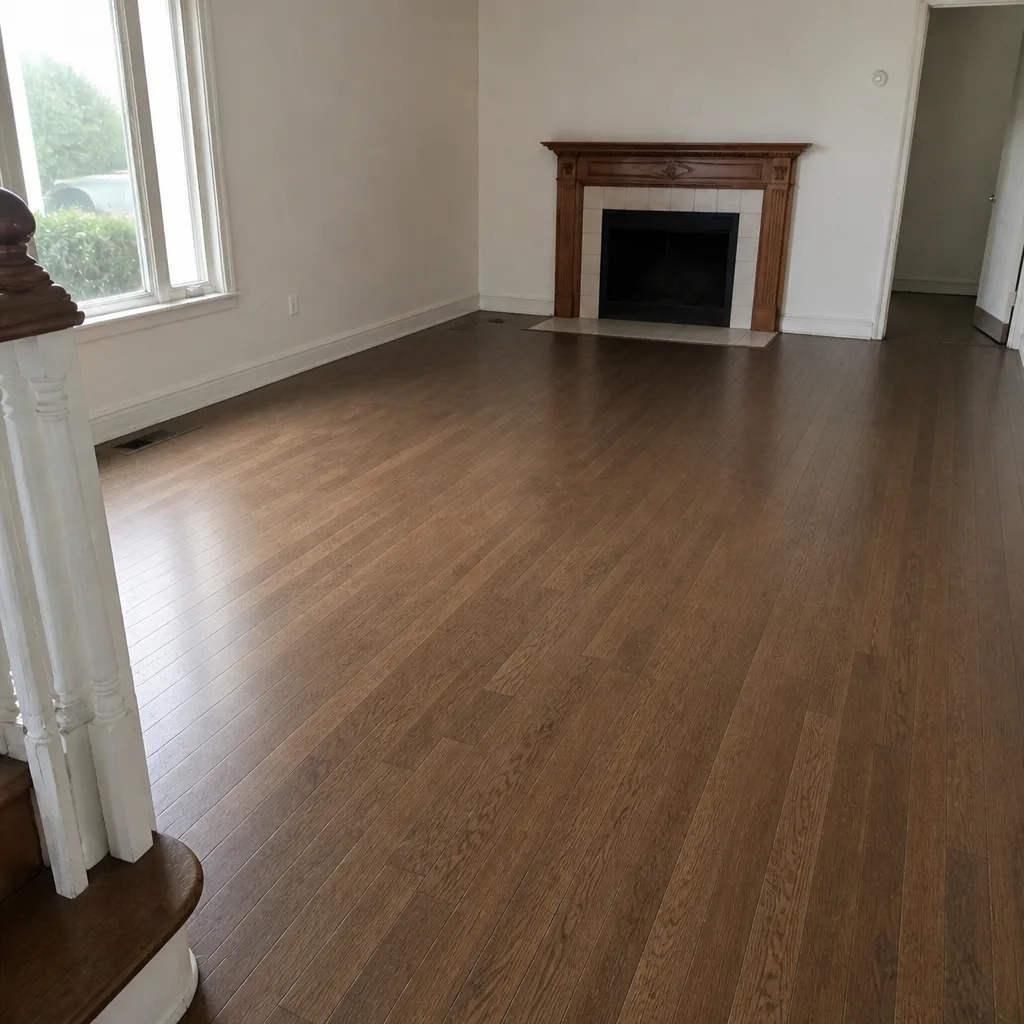
See the difference
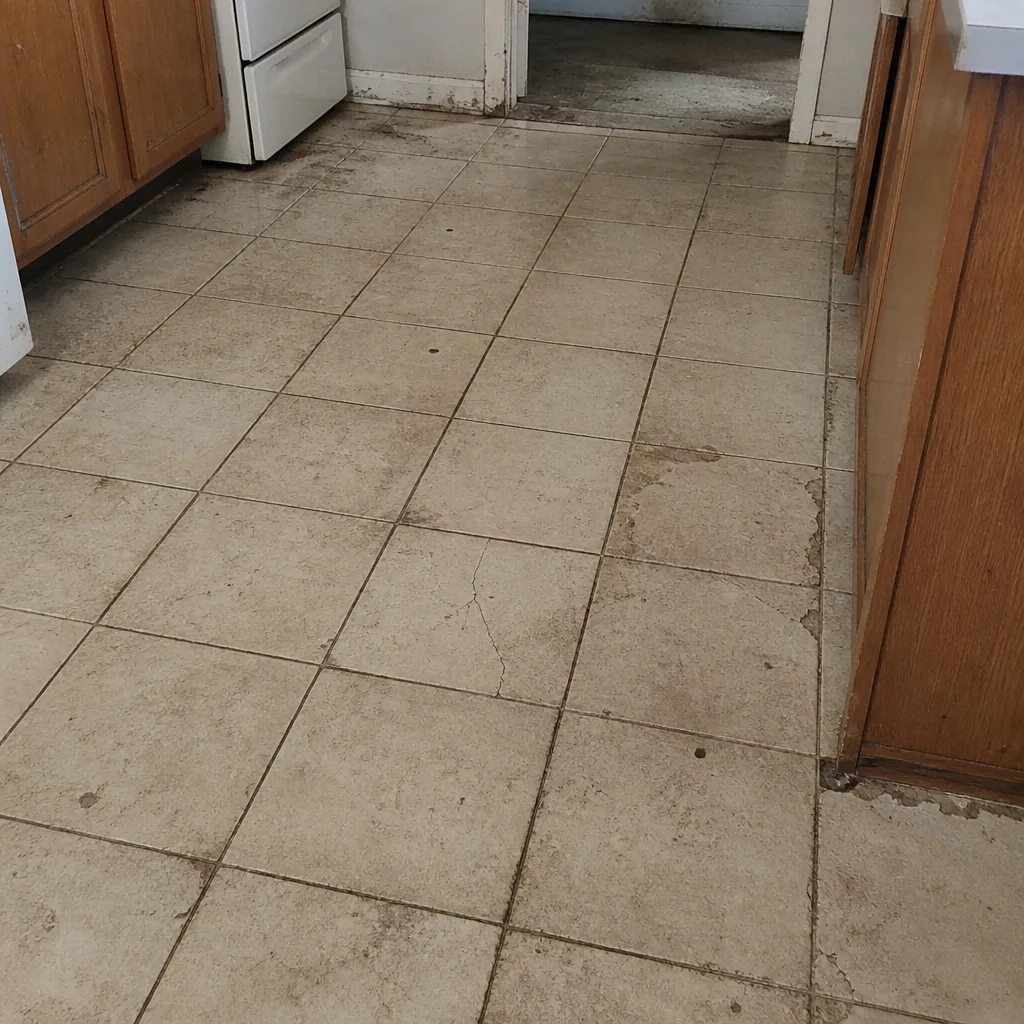 Before
 After
 Before
 After
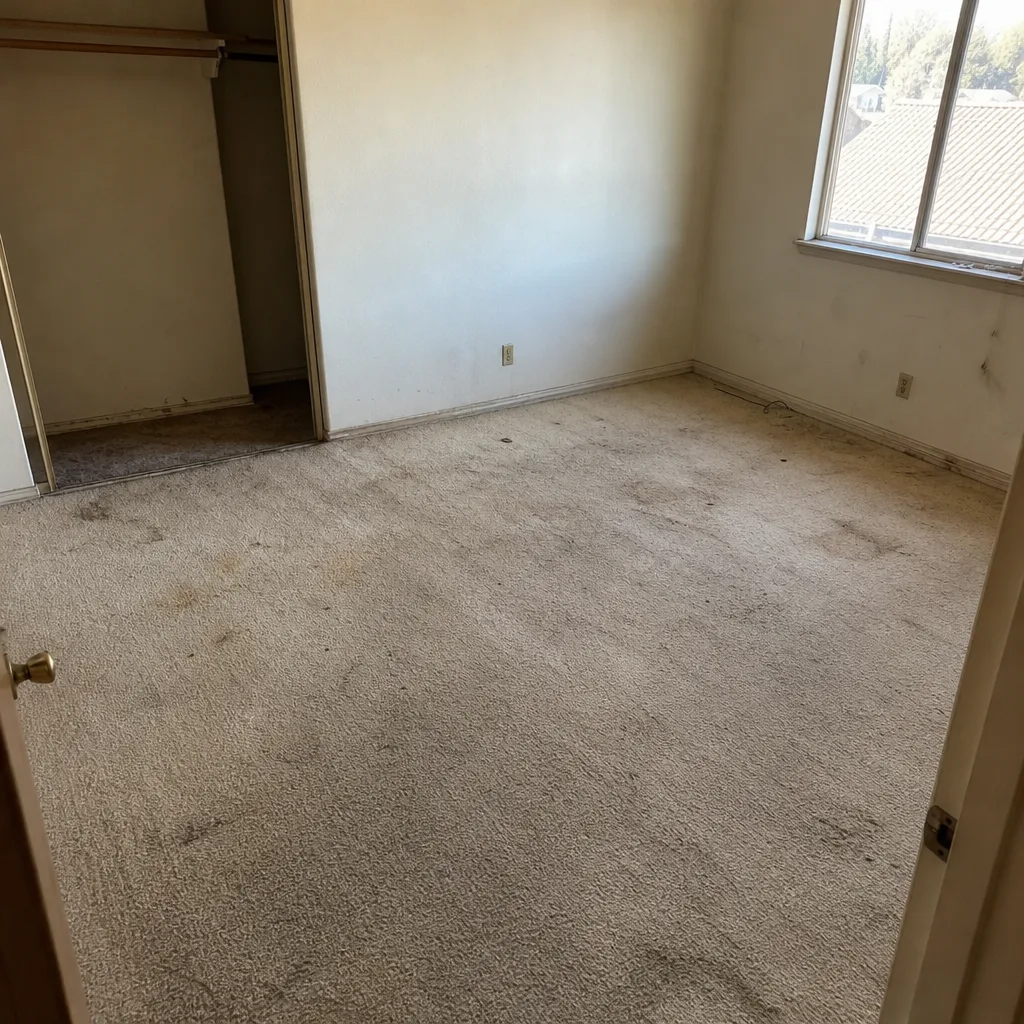 Before
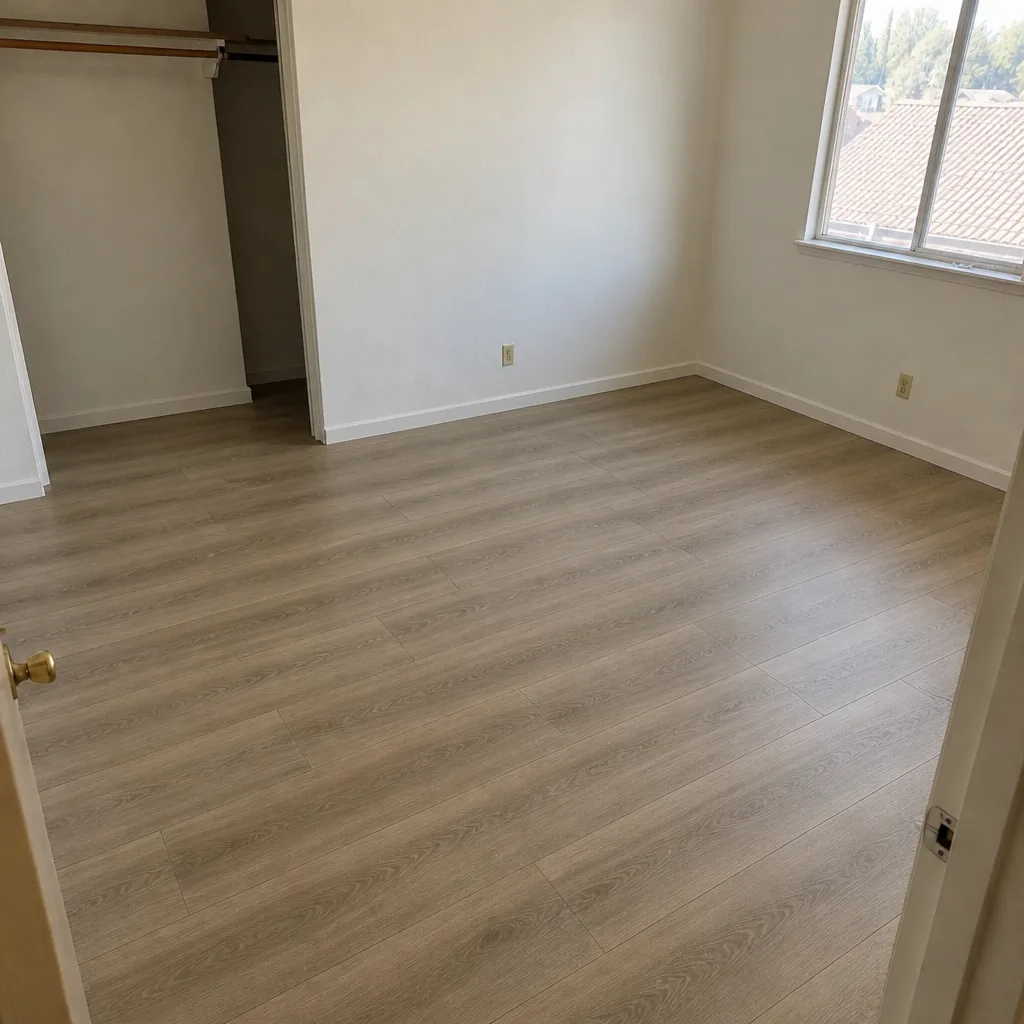 After
When to Call a Professional
Some subfloor questions don’t need a specialist; some do. A carpet install over a clean slab in a modern home is usually straightforward. But there are conditions where a professional inspection, moisture test, and prep scope are the right next step before anything gets opened:
The slab has cracks or visible damage, or you’re not sure. The existing floor has cupped, lifted, or shown gaps. The room is a wood-framed addition or a sunken living room over a crawl space. You’re installing tile over concrete, or any rigid-core LVP over slab, and want to know whether the substrate will hold up. The prior floor install failed and you’re not sure why. Or the estimate you received was vague on prep and you want a second scope to compare against.
Henderson Flooring Installation offers free estimates in Henderson – call (844) 460-4481 to schedule. We install and service carpet, tile, and hardwood refinishing over properly prepared subfloors, and we work with products from Shaw, Karndean, Daltile, Armstrong, Mohawk, COREtec, Pergo, LifeProof, and Mannington. The written estimate sets the final price for prep and install. We answer 24/7. Fast dispatch from 7am to 7pm, Sunday through Friday.
Frequently Asked Questions
Subfloor prep in Henderson is a per-job line item rather than a fixed per-square-foot price, because cost depends on which condition is present and how much of the slab is affected. Basic prep – cleaning, minor crack repair, and a moisture check – sits at the low end. Moisture mitigation systems and self-leveling compound over a large area add more, and the flatness reading and area drive the quantity. The written estimate sets the final price after a free in-home measure. Call (844) 460-4481 for an exact quote – estimates are free.
Yes. LVP products and engineered hardwood products specify a moisture tolerance in their installation instructions, and without a test you have no way to know whether the slab is within it. The ASTM F2170 in-situ probe test is the reliable method for reading the moisture inside the slab rather than just at the surface. If a contractor proposes skipping it, ask why. Call (844) 460-4481 and we’ll confirm the test is part of the scope.
Level refers to the floor being parallel to the ground; flat refers to the surface having no dips or high spots. Flooring products care about flat, and a floor can be sloped for drainage and still be flat enough for tile or LVP. What we check at a Henderson estimate visit is flatness – with a long straightedge and a gap measurement – compared against the product’s flatness tolerance. Call (844) 460-4481 to schedule a free estimate and get the flatness readings on record.
Self-leveling compound is needed when the slab is outside the flatness tolerance of the product going on top and the deviation can’t be corrected by grinding or minor patching alone. It’s most common over pitted or damaged slabs, or where large dips or humps would show through tile or cause LVP joints to fail. Small patch work and crack fill aren’t the same as a self-leveler pour, and the written estimate should specify which one is proposed and why. Call (844) 460-4481 for an exact quote – estimates are free.
Wood-framed additions and sunken rooms over a crawl space have different prep requirements than slab-on-grade rooms, because deflection, wood moisture content, and the crawl space’s condition all affect what the finished floor will do. Tile over wood framing typically needs an underlayment or decoupling layer that the product instructions call for, and LVP over a wood subfloor needs a flat, dry surface with no deflection concern. We check all of it at the estimate visit. Call (844) 460-4481 to book a free estimate.
Installing over an existing floor is sometimes possible, but it doesn’t skip subfloor considerations – the subfloor conditions still have to meet the flatness and moisture requirements for the new product, and the existing floor becomes part of that surface. Some products allow direct install over existing hard surfaces under specific conditions; many don’t, and a second layer adds height and weight that affects everything above it. The written estimate and the product instructions set the answer. Call (844) 460-4481 to talk through your specific floor – the estimate is free.
The Bottom Line
The subfloor is the part of a flooring project that decides whether the product on top performs the way it was designed to, or fails early. In Henderson, that mostly means a concrete slab whose moisture and flatness need to be tested, not assumed. The three conditions we see most – good, alkaline-high-moisture, and out-of-flat – each call for a different prep response. The moisture test (ASTM F2170), the flatness check, and the remediation scope all belong in the written estimate, itemized and quantified. And for wood-framed additions and sunken rooms, deflection and wood moisture take the place of slab moisture as the key concern. If your estimate doesn’t show all of this, ask why before the install starts.
Ready to get a floor under your feet that will perform the way it should? Call (844) 460-4481 to schedule a free estimate. We answer 24/7. Fast dispatch from 7am to 7pm, Sunday through Friday. Our technicians have up to 9 years of experience, and we install carpet, tile, and hardwood refinishing over properly prepared subfloors using products from Shaw, Karndean, Daltile, Armstrong, and more.
Written by the team at Henderson Flooring Installation.